I have put together a case study for breathing new life into a neglected toilet. I used every (applicable) cleaning method to make this look sparkling clean. It is used daily by 3 full time male employees, in addition to numerous suppliers, drivers and vendors. Unfortunately, we never have customers visit this location, so management sees no reason to keep it up – that responsibility is left to the male employees and, sadly, they do not care what their bathroom looks like.
I took this as an opportunity to show the world that even the nastiest of toilets can be restored to mint-condition with fewer chemicals and more elbow grease.
It saddens me to hear friends buying new homes or moving into apartments that are too disgusted with the current state of the toilets. Some have even removed the old ones and purchased brand-new toilets, when with a little bit of work, could have turned these timeless bathroom fixtures into shiny, clean beauties.
***Warning: Cleaning toilets are not for the faint of heart, but if you can swallow your pride, you’ll be just fine.
If you want to know the proper procedures to bring your toilet back to life, check out our toilet cleaning guide.
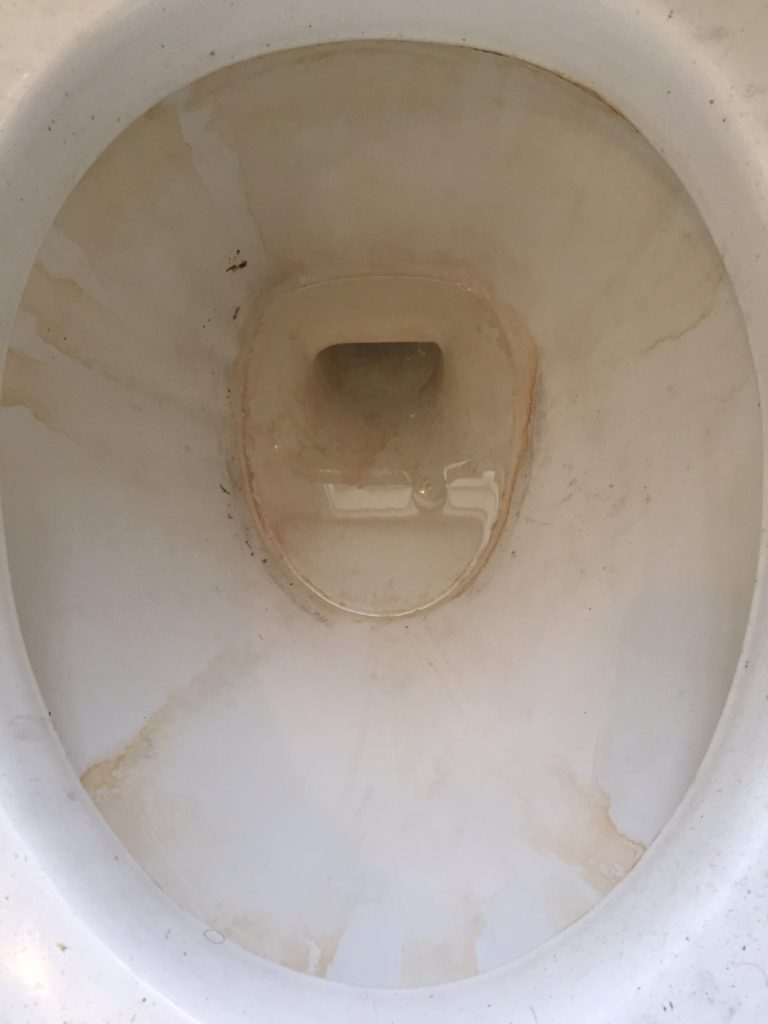
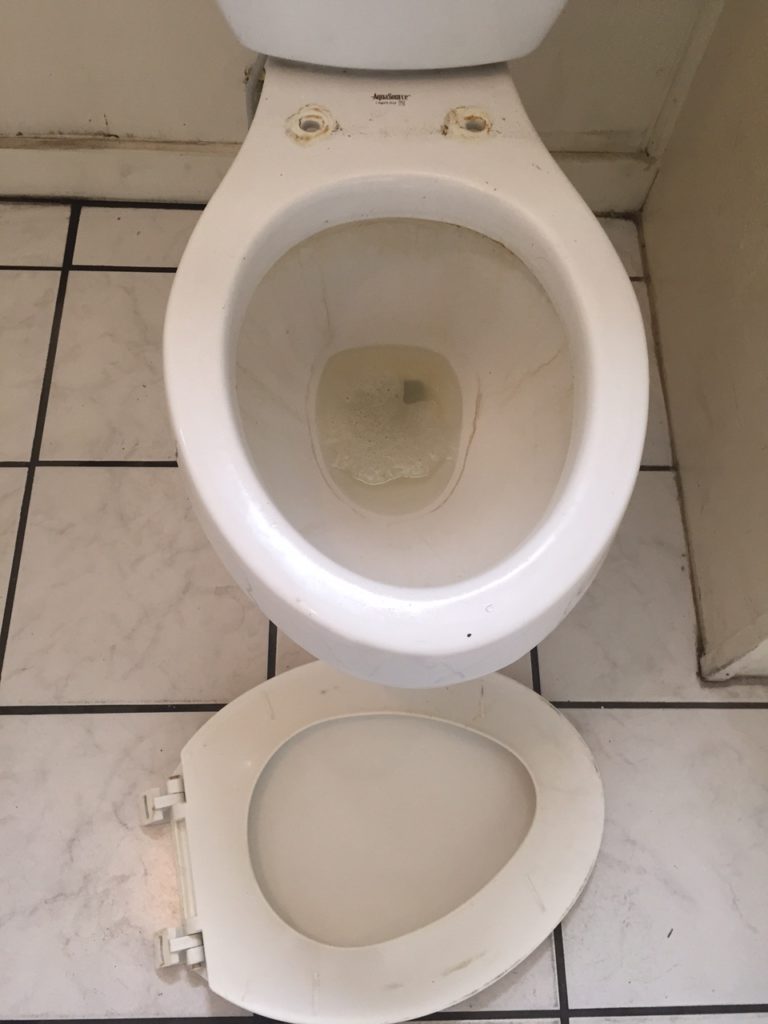
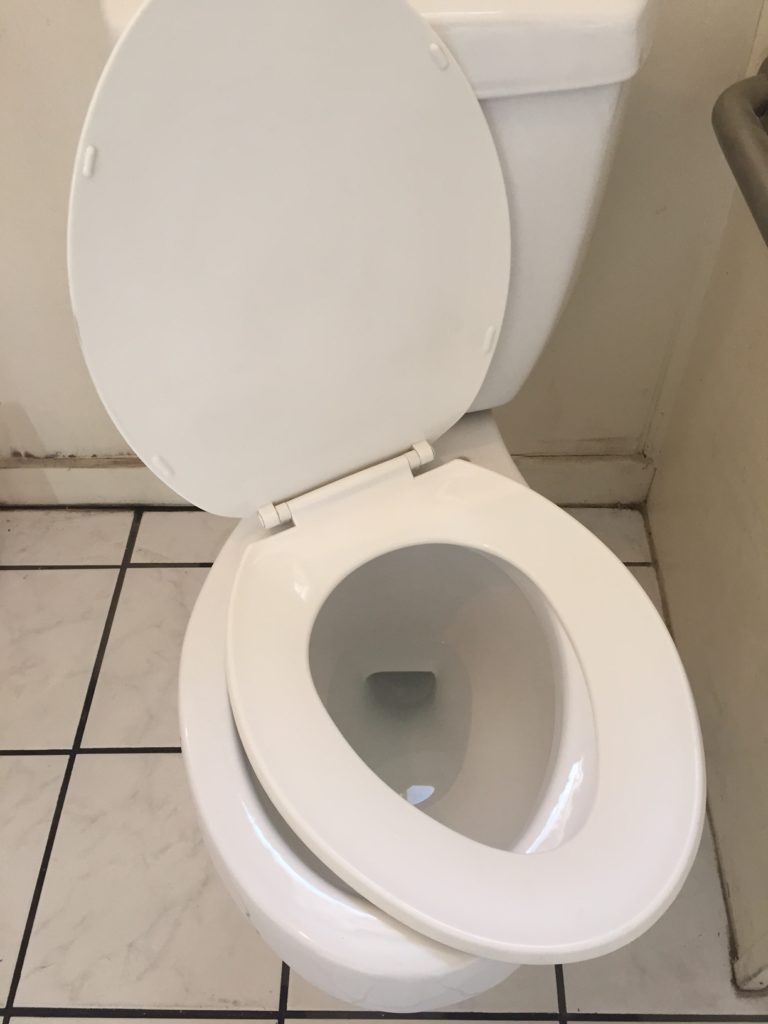
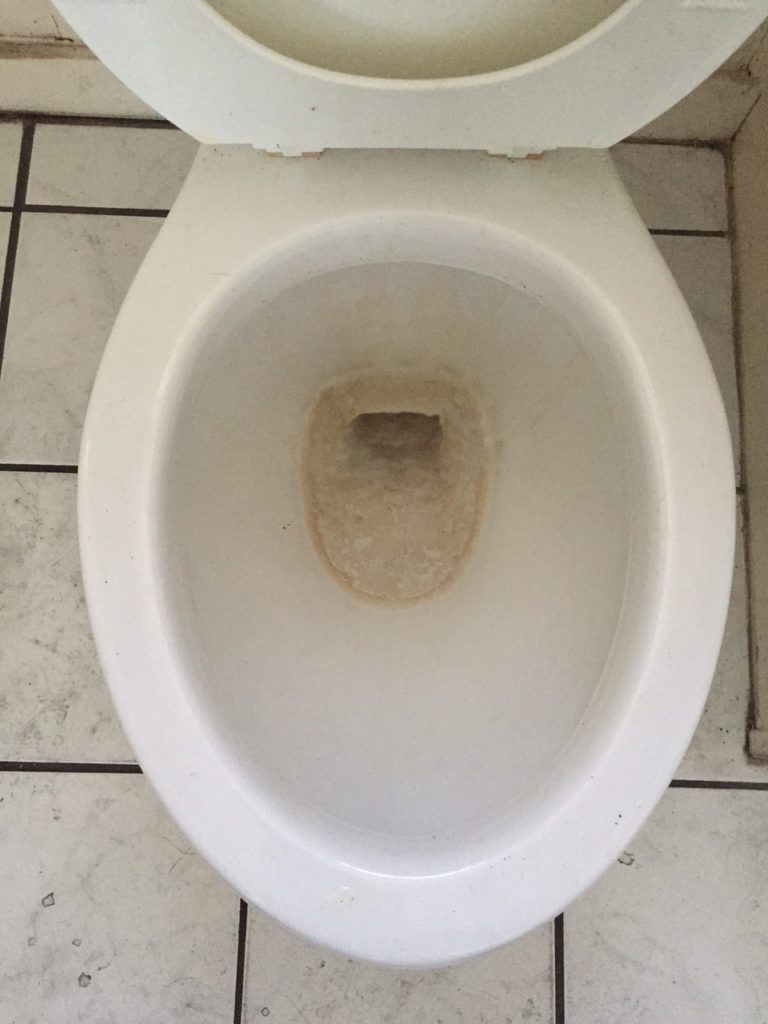
This is what we are working with today. A dirty, stained toilet with a moderate amount of mineral build-up. This will be fun!
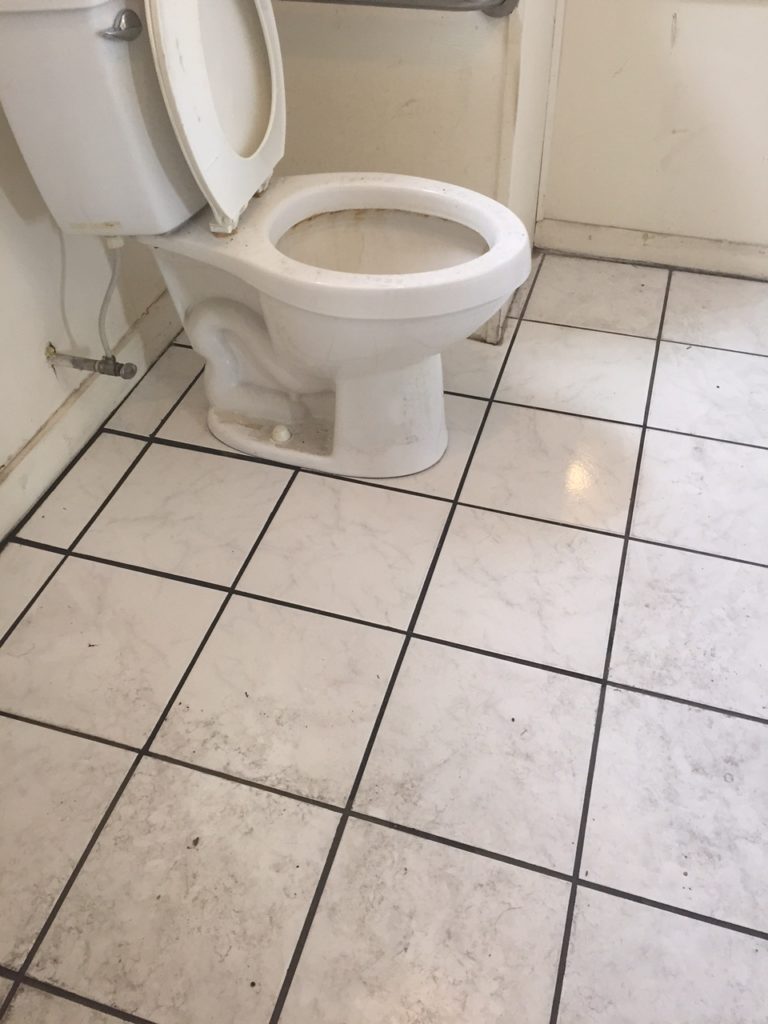
As you can imagine, with a neglected toilet comes a neglected floor. The tile has a marbled look to it to help hide dirt, but you can see the area around the toilet that was cleaned. I will be spending a lot of time on my hands and knees and wanted to ensure the working area was cleaned and sanitized. The rest of the floor will be mopped later.
The first step in this process is to flush the toilet.
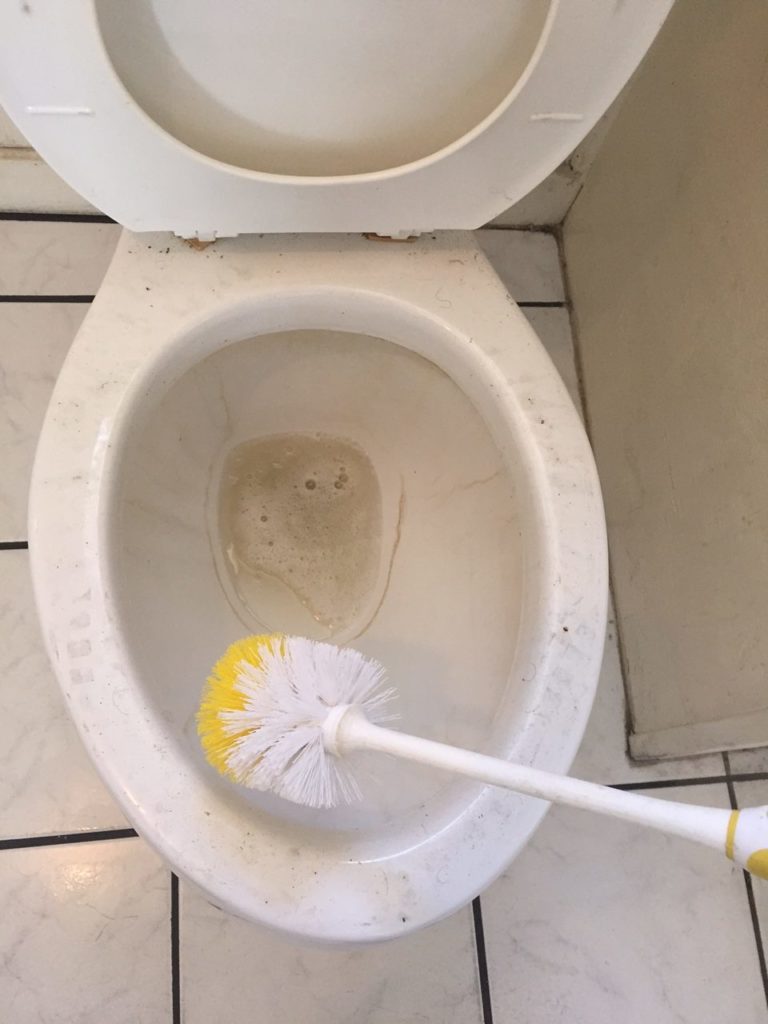
Always flush the toilet before starting… A half-cup of bleach was poured into the bowl and was scrubbed with a toilet brush. As a precaution for the septic tank and in the case there are metal pipes, I use as few chemicals as possible. Bleach is a safe way to disinfect and a good first step for removing stains.
It already looks better!
(Note: If you have a newer toilet with an applied coating to the bowl, you should not use bleach and opt for a coating friendly cleaner recommended by your toilet manufacturer. You can read more about using bleach on toilets here)

I personally like to work from the inside of the toilet, outwards. Cleaning the bowl can cause water or bleach to splash onto the outside of the bowl but if it is too gross, you can certainly start with the rim. I use a wet, disposable scouring pad/sponge to remove the grime before disinfecting with bleach wipes. It use the same process for the entire outside of the toilet.
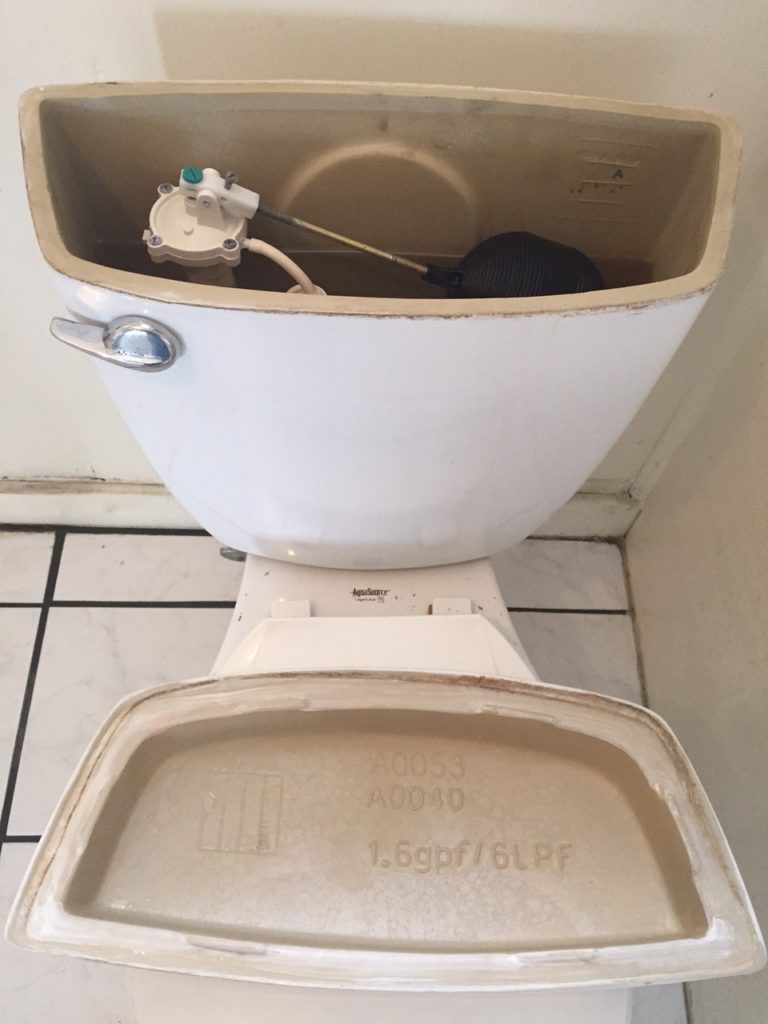
The tank actually looks pretty clean which tells me the toilet isn’t even that old! This is just pure neglect. Older toilets WILL have mold or growth on the inside. You can scrub some of it off, but leave the chemicals out of the tank so it does not prematurely destroy seal, gaskets and internal hardware.
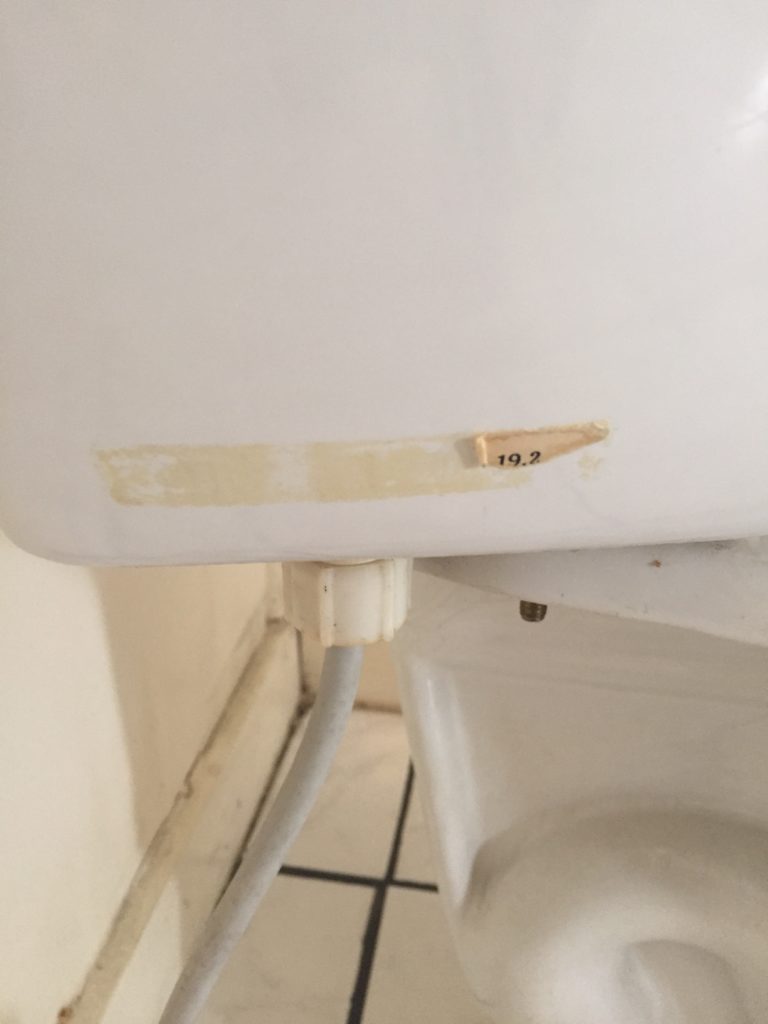
Again, no one has really bothered to ever clean this toilet, as the sticker is still attached! I lightly used a razor blade to remove the sticker and residual adhesive, and then hit it with the scouring pad and bleach wipes.
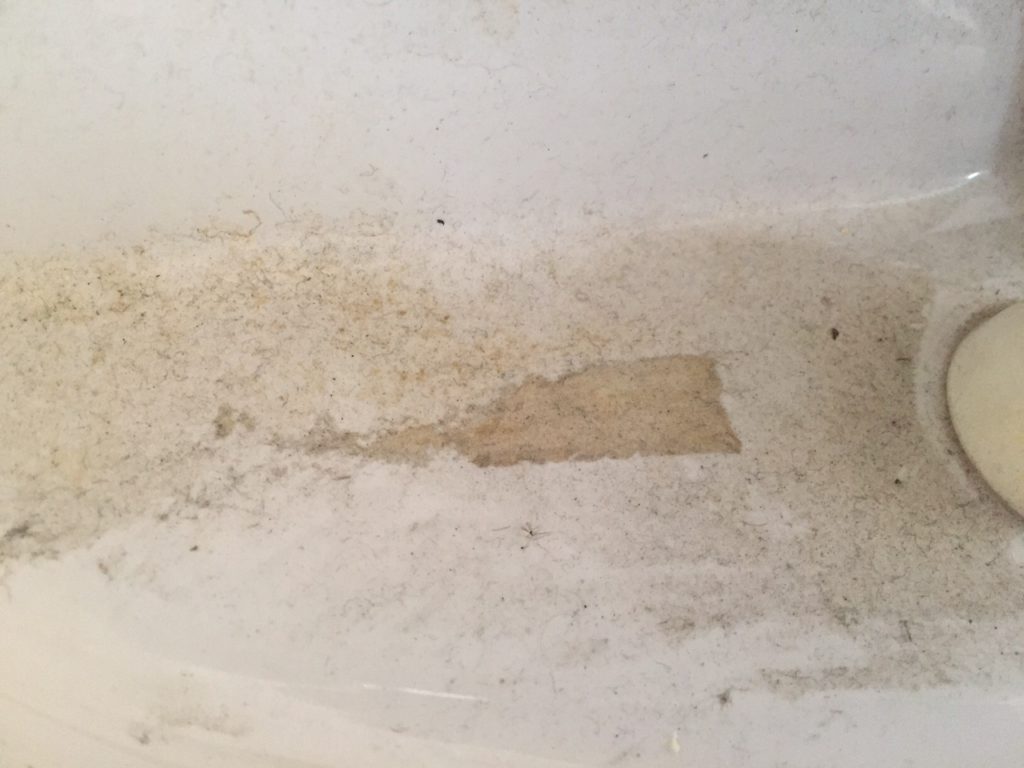
More grime, dirt and sticker at the base. Same steps as above.
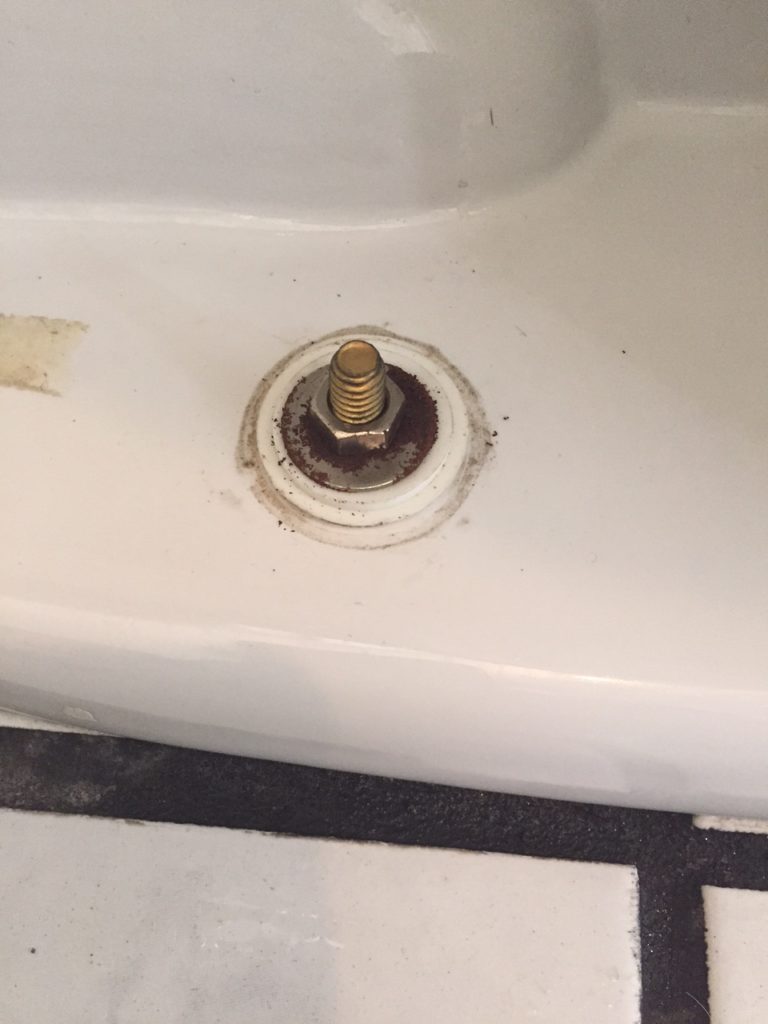
Don’t forget to pull off the bolt covers that attach the toilet to the ground. You can hit the bolts with a little LCR to remove any rust… We want to be able to remove the toilet and not have to replace the bolts when the toilet needs replacing.
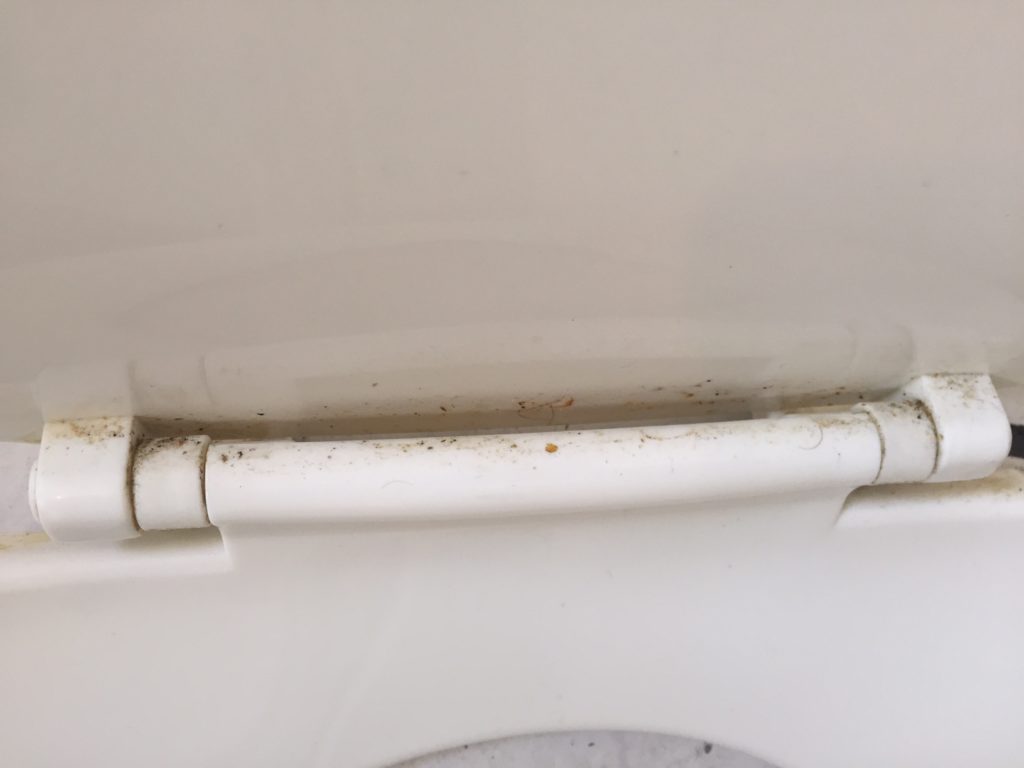
**WARNING: Next picture is graphic**
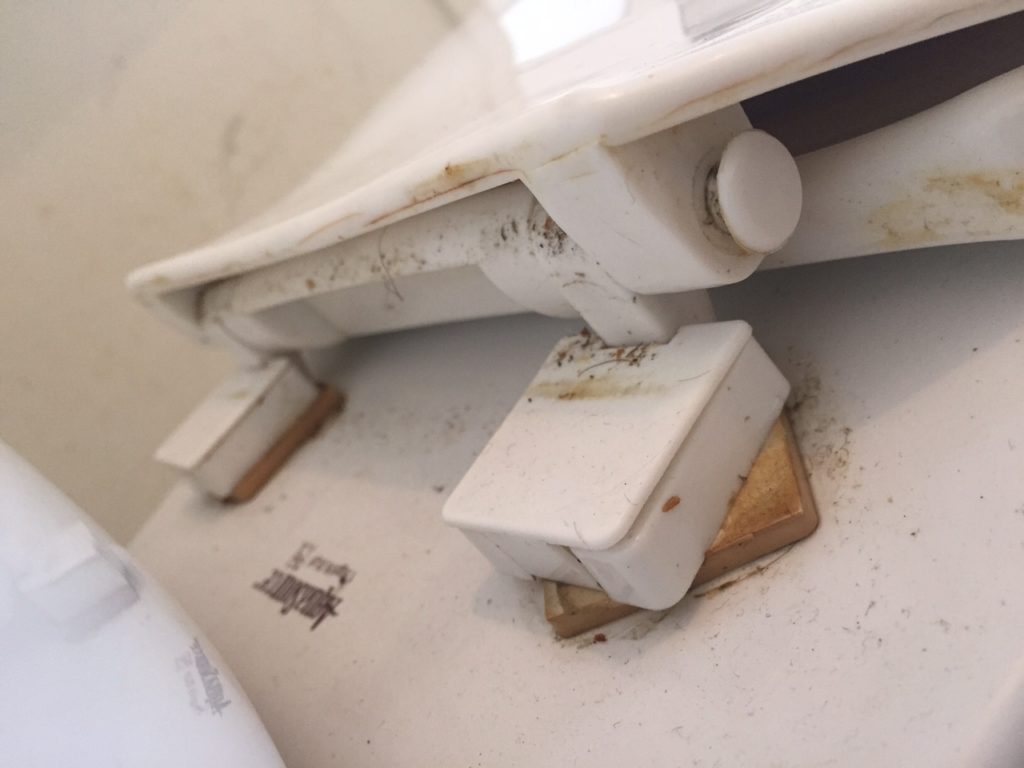
I gagged when I got up close and personal behind the toilet seat. I disinfected this area before any scrubbing or cleaning, but it looks like I needed to remove the toilet seat entirely to get a thorough clean. Once disinfected, you can pop the plastic tabs up and find the plastic screws underneath.
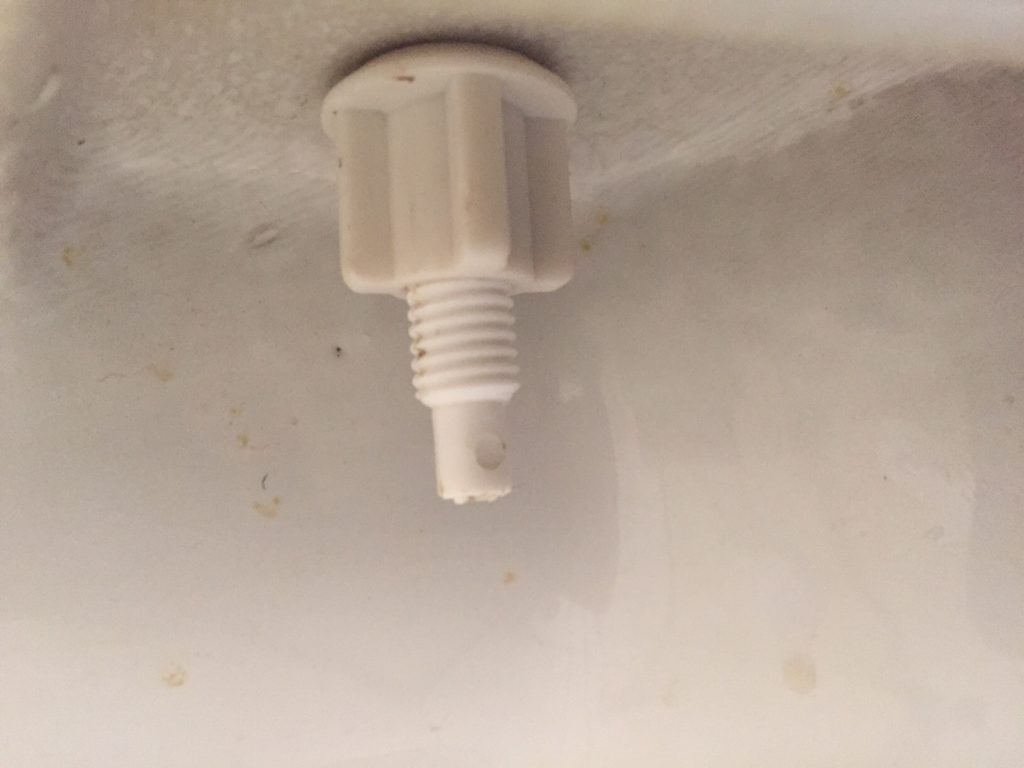
Under and behind the toilet bowl, the seat is secured with a plastic bolt and nut on either side. Your’s may or may not be plastic but most newer toilets are plastic. Just unscrew the bolts and nuts and the toilet seat lifts right off.
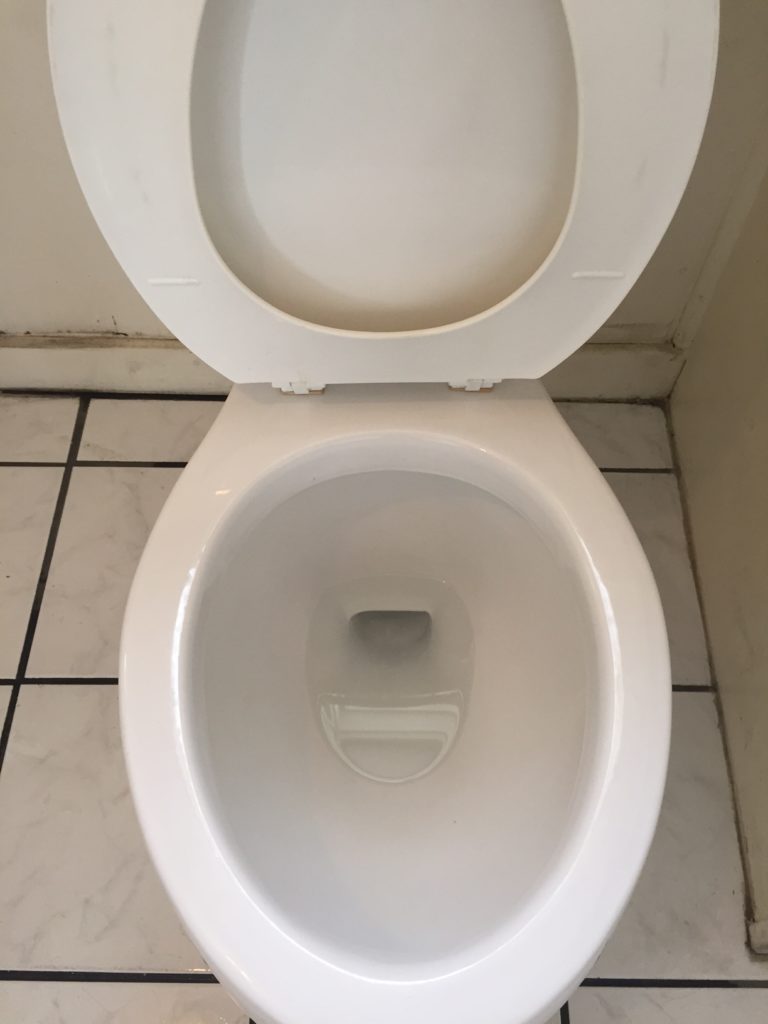
More disinfecting and cleaning at the back of the rim. This was easily the worst part of the clean. I made a soapy water dish and put the plastic and rubber gaskets in to clean up before a good scrubbing. You should not use bleach on these parts.
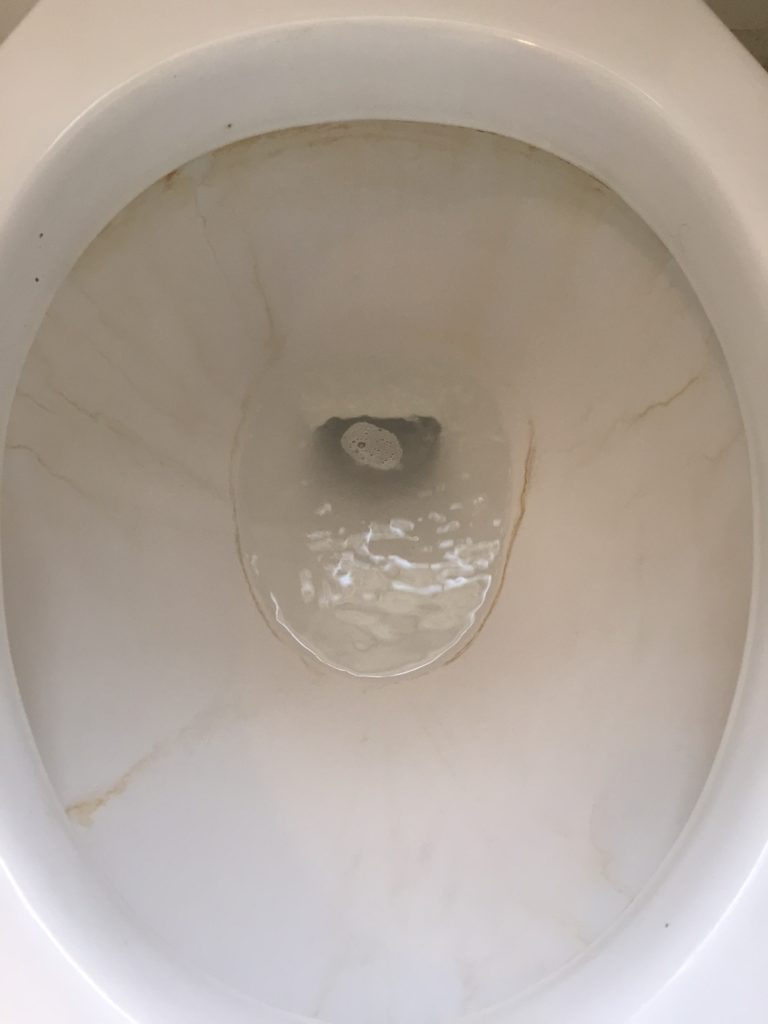
After letting the bleach sit for about 30 minutes, I flushed it an almost all of the staining and build up was gone where the water sits. You can’t see it in this picture, but there was a bit of build up that was bleached white submerged under the water. We will get to that along with the staining higher in the bowl.
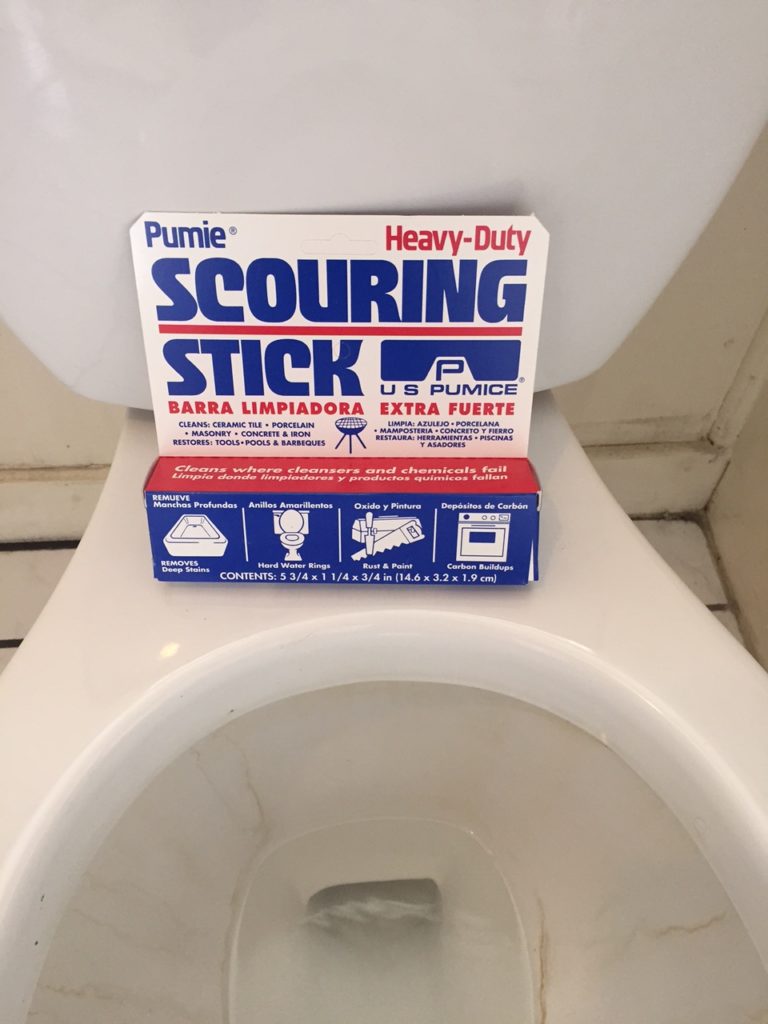
This is a scouring stick or pumice stone. It is an amazing tool for use on ceramic and porcelain. You can pick them up at any of the big box hardware stores and online. Since they are so cheap, I usually buy 10 at a time off Amazon.com. You can find them here on Amazon: U. S. Pumice Heavy-Duty Pumie Scouring Stick (3 Pack)
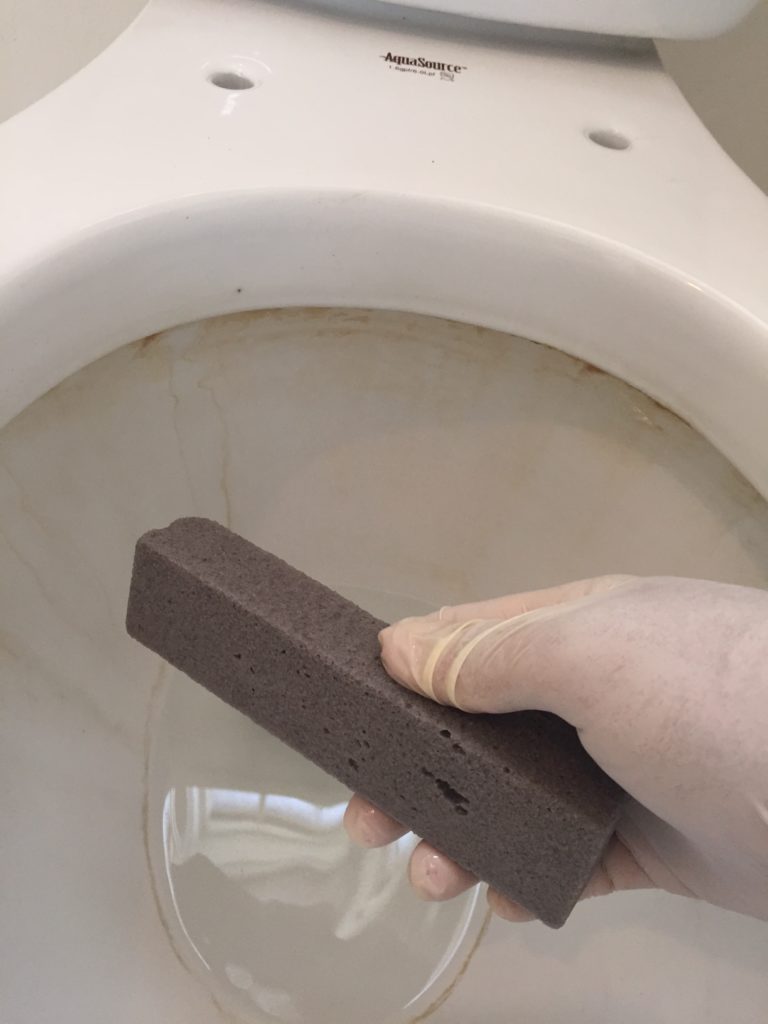
Despite disinfecting the toilet first, always wear gloves! Go with a thicker material than in the picture thin latex will tear. Follow the instructions and make sure it is wet before starting.
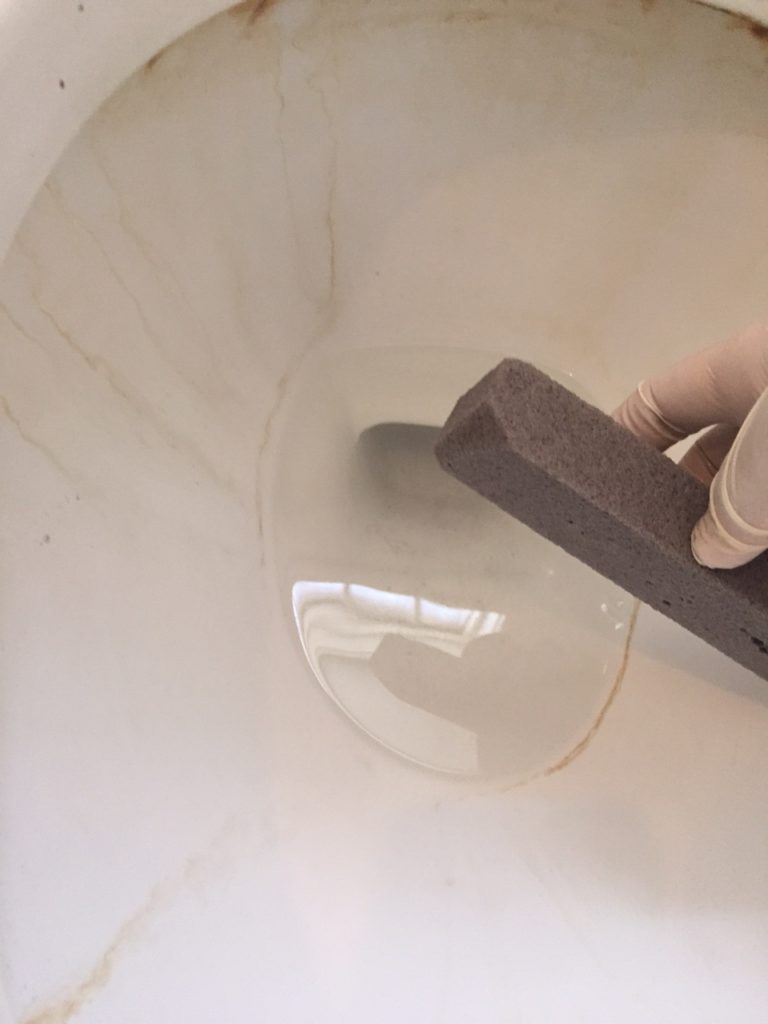
As you scrub the stains, the stick will grind off. That is expected. You can see the water ring in the lower left that has already disappeared.
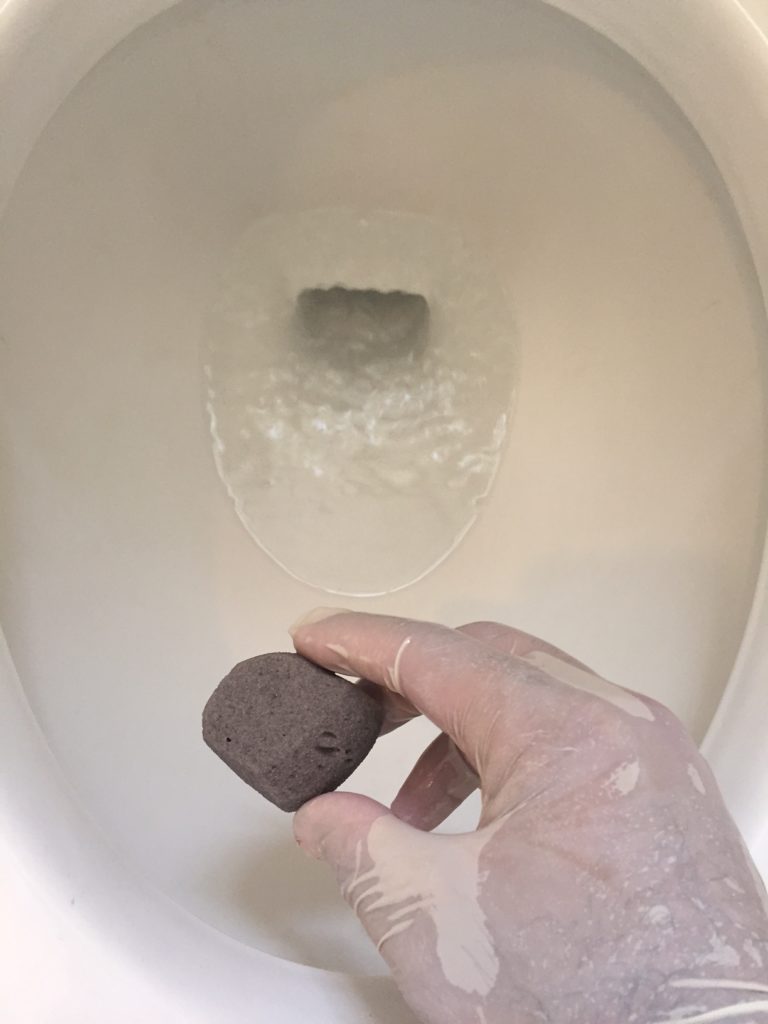
Ask me why I recommend thicker gloves… I got a little tear and water got into my glove as I was scrubbing. I have finished the bowl and virtually all staining and build up is gone. I am left with a small nub of the pumice stone left. A little bit of elbow grease goes a long way.
I finished up cleaning off the toilet seat on the ground.
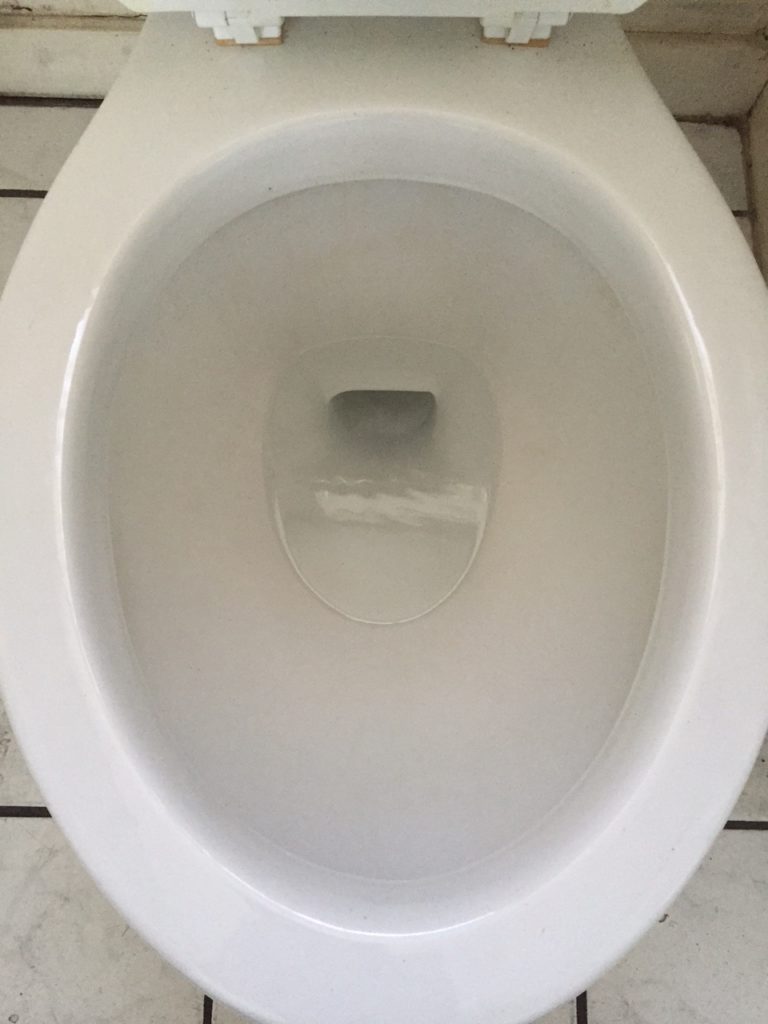
It looks like a brand new toilet. All that is left is to re-attach the toilet seat with the hardware once all of it has been cleaned.
There you have it folks. The toilet looks brand new. The only spot that looks dirty is the toilet seat where it meets the rim but those are actually scratches in the plastic itself. Theoretically it could be buffed or sanded out but that’s a little too much, even for me.
You should follow these steps to breathe new life into neglected or old toilets. Nobody should be subjected to a toilet that gross…
***UPDATE***
Three weeks later….
Surprise, surprise. No one has bothered to clean it and it is well on its way to the wreck it was before. A quick bleach wash and scrub will make it as good as new.
Ta-da! New again. It is easy maintenance once you bring it back to life. After all, an ounce of prevention is worth a pound of cure. A deep thorough clean only needs to happen once or twice a year. Thanks for reading!
I have a guest toilet out of my house. No one used that toilet for 1 year after installing a new guest toilet into the house. But I want to repair this toilet again for my own use while gardening or so. The condition of my toilet is same here. I am going to follow those instructions and I think that work should place somewhere like yours to be inspired as well as me…..