The Great Kitchen Remodel of 2016
If you have read my story about why I decided to learn plumbing and DIY, then you probably know I have been very active in working on our house. Once I was able to get caught up on the maintenance, my father-in-law and I got to work on a beautiful kitchen for Mrs. PVC Guy. Our home was built in 1958 – a time when chopping up the floor plan to create more rooms was a popular fad. Mrs. PVC Guy desperately wanted an open floor plan and was willing to settle with opening up the wall with just a window to the dining room and living room to keep an eye on things.
When we bought the house, the only project Mrs. PVC Guy wanted was granite countertops. It certainly was an expensive upgrade but considering the state of our home when we bought it and the fact it was the only item on her checklist, I think it was certainly a reasonable request.
Before we made the upgrade, we wanted to make sure the countertop wasn’t going to change – I certainly wasn’t going to pay for granite countertops twice. So we got into the planning phase and somehow (naturally) the plan of putting a window in the wall grew to removing the entire wall, moving appliances, refinishing the cabinets, installing a powered island, building a desk and generally updating the room.
The hardest part about it, was Mrs. PVC Guy was pregnant and we had a firm deadline to get these items done within 3 months, working during the weekends and after work from my full-time job. Between weddings, bachelor parties, engagement parties, etc. we had even less time. It was a daunting challenge, so we dove right in.
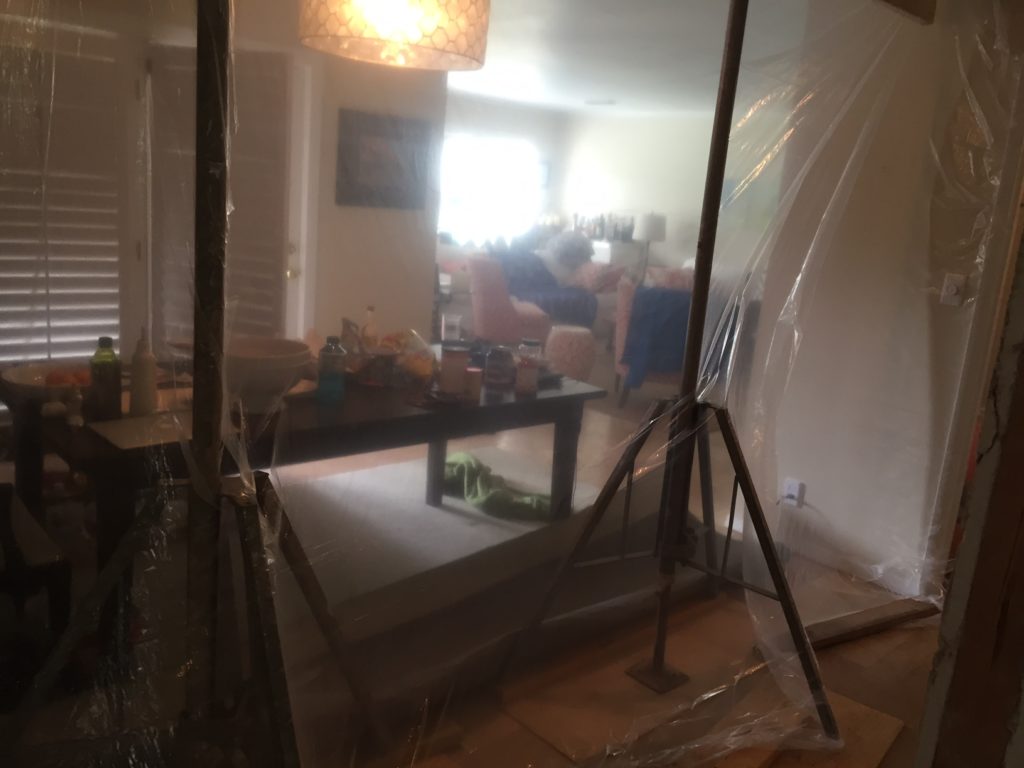
The first step was to shore up the ceiling – based on the rafters, we had originally believed it to be a load bearing wall. We used plastic sheeting for dust control and containment. This was going to be a long project so we wanted to set it up correctly and for the long term.
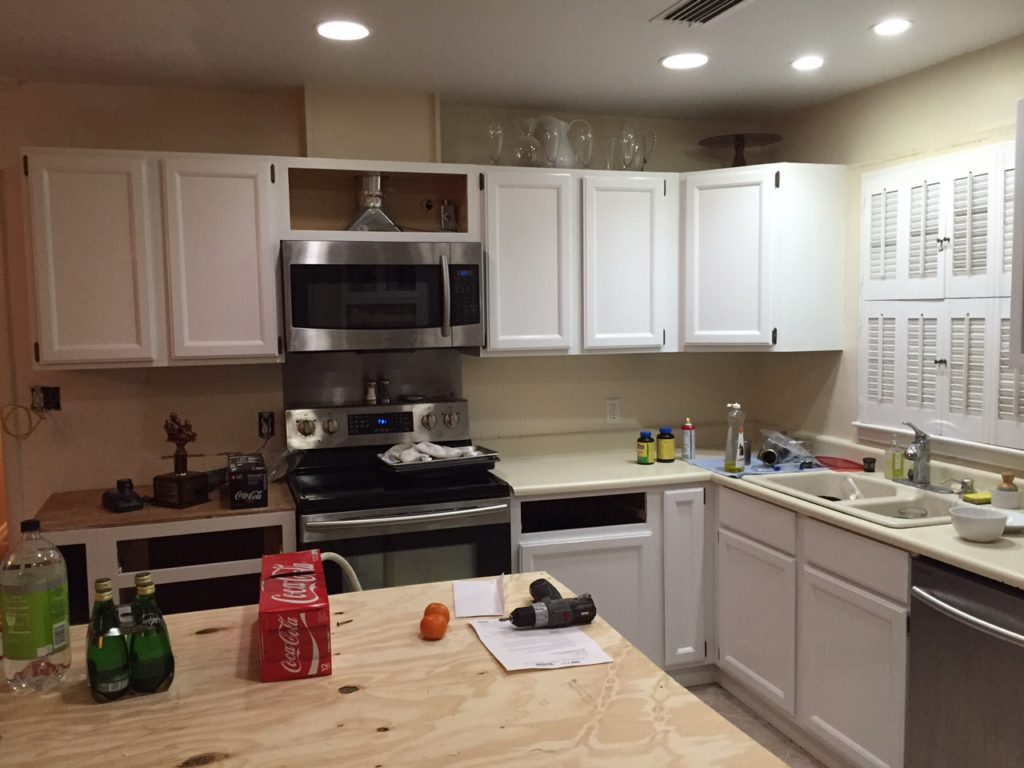
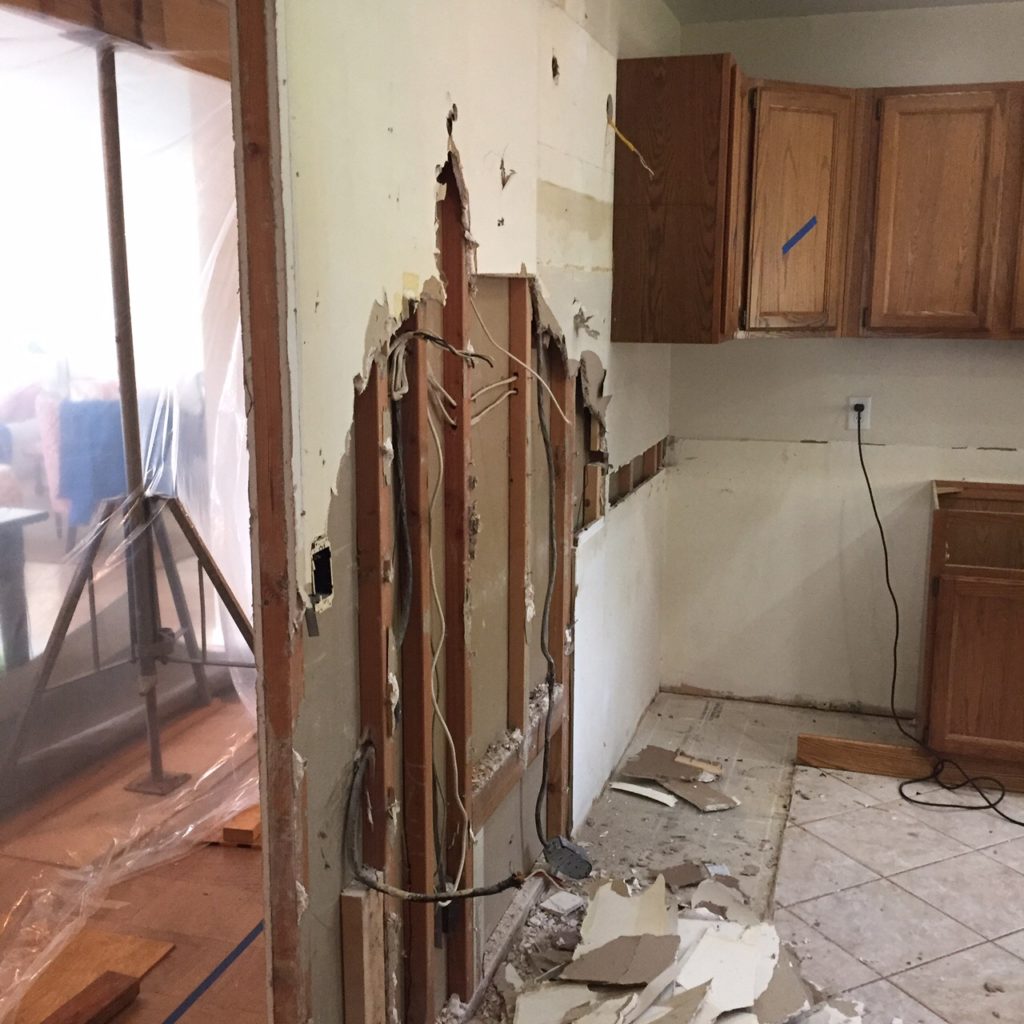 The house has some thin wall construction with 2×4 lumber turned sideways to save on interior space. We had believed this wall to be thin wall construction but when we opened it up, we found that this was not a load bearing wall. It only had 2×2 lumber and there was sheet rock between the wall and the rafters, indicating this wall was installed after the house was built. Prior to demolition, we removed several cabinets, the stove, microwave and countertop. You can see the electrical mess we had to deal with and the beautiful linoleum that was hidden under the cabinets. Since we were planning on keeping the tile, this was a real problem.
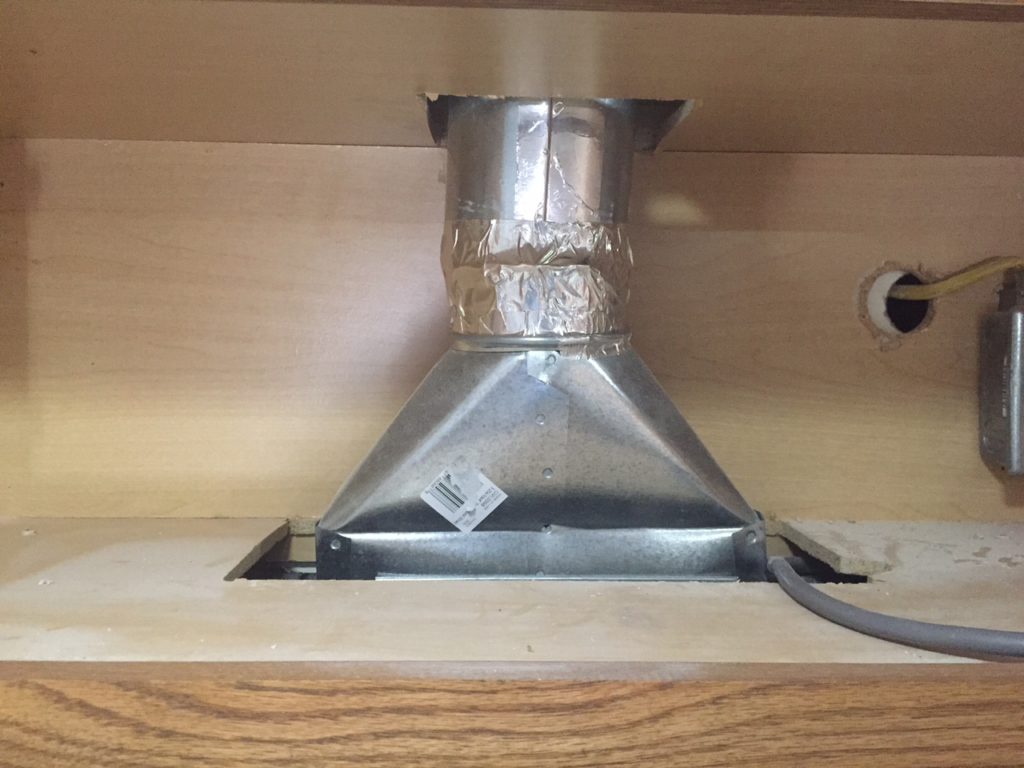
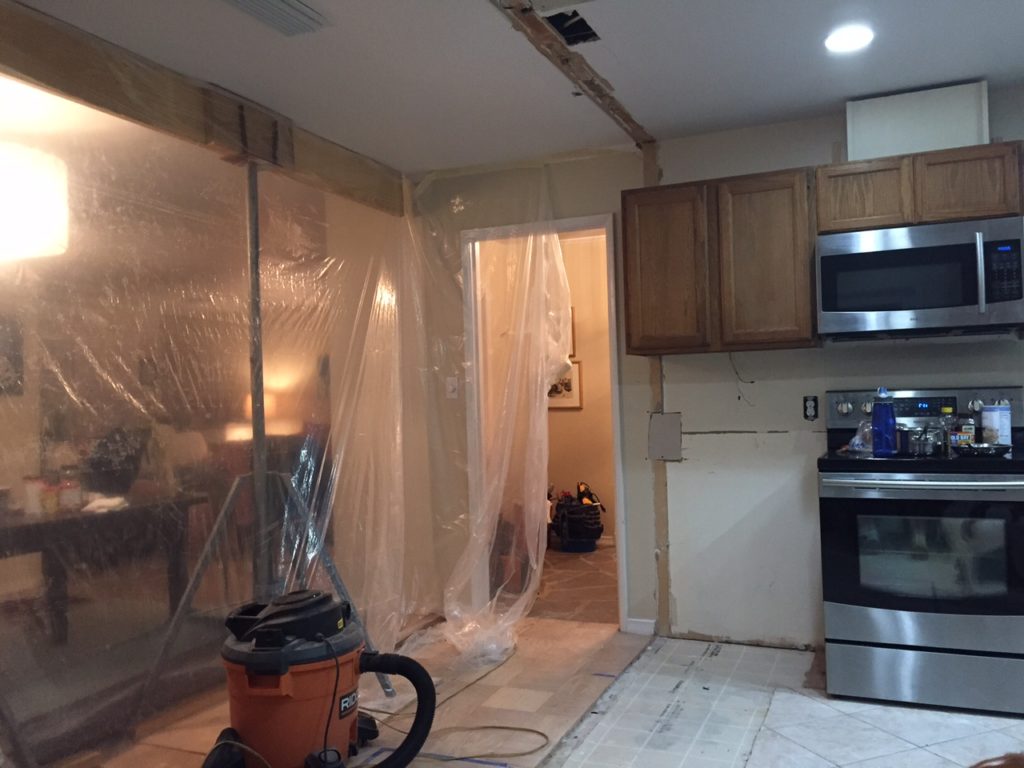 We got the wall out. Looks like extensive dry wall work. I hate dry wall. We moved some more cabinets and managed to get the stove and microwave installed. We needed a way to cook for for the next 10 weeks. The exhaust temporarily just empties into the cabinet. Put more cabinets in place along the wall so we have room to store stuff.
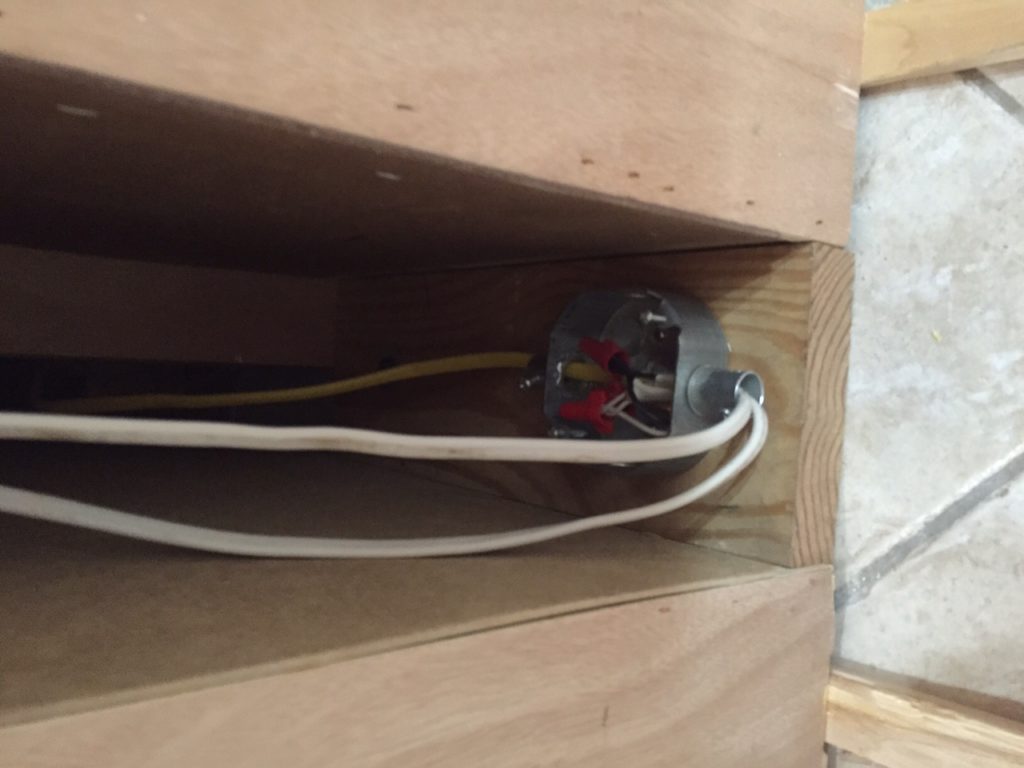
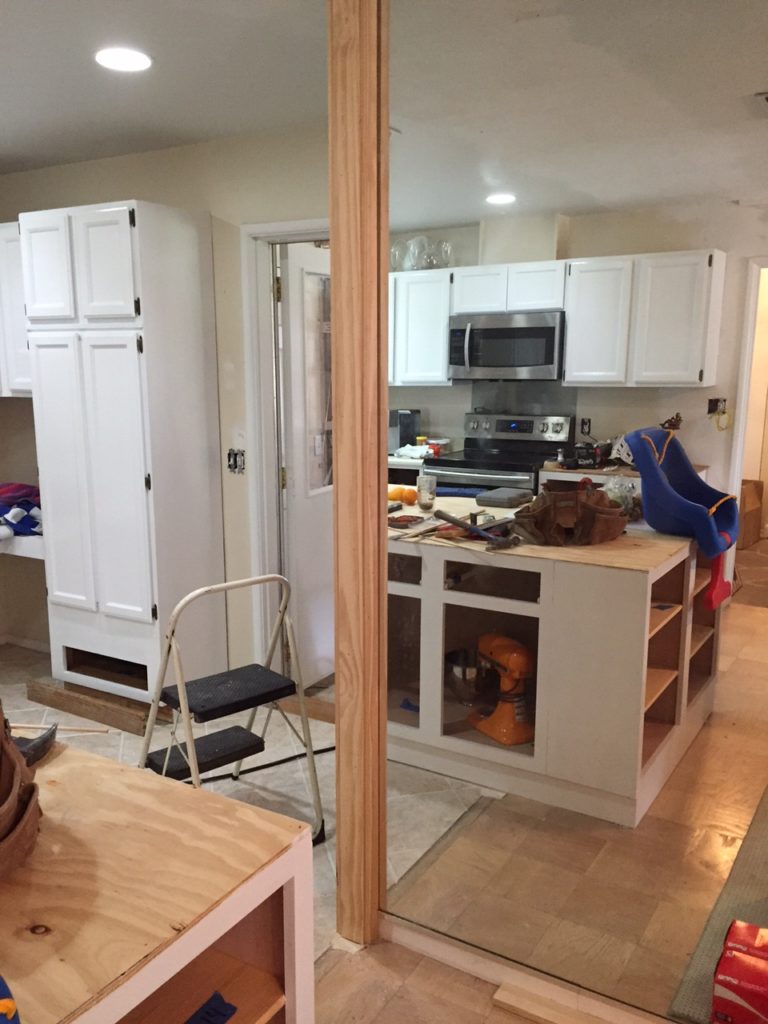
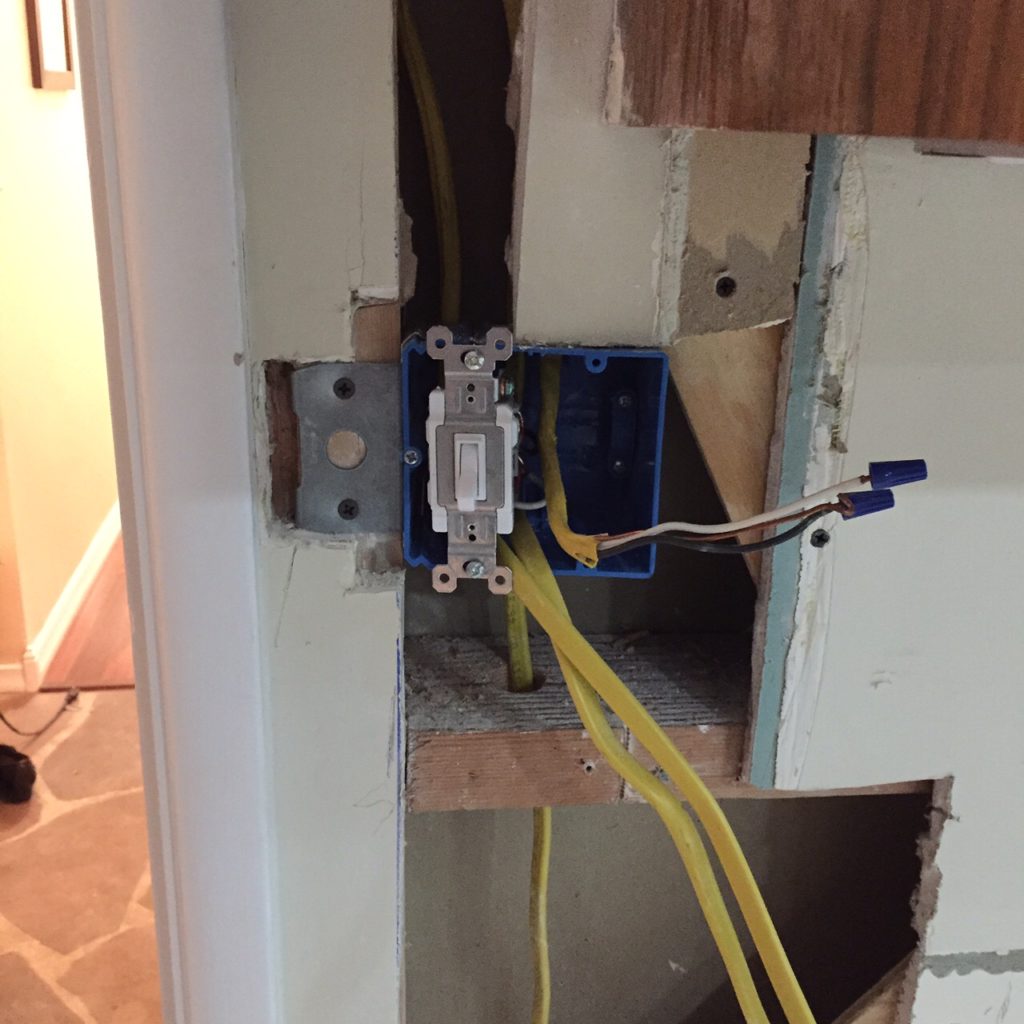 We did some electrical work. Since we can now walk into the kitchen on both sides, it was a good idea to make the kitchen lights turn on/off with a three-way switch. In the process, we needed a junction box to provide power to the island, as well as a switch to a light above the island.
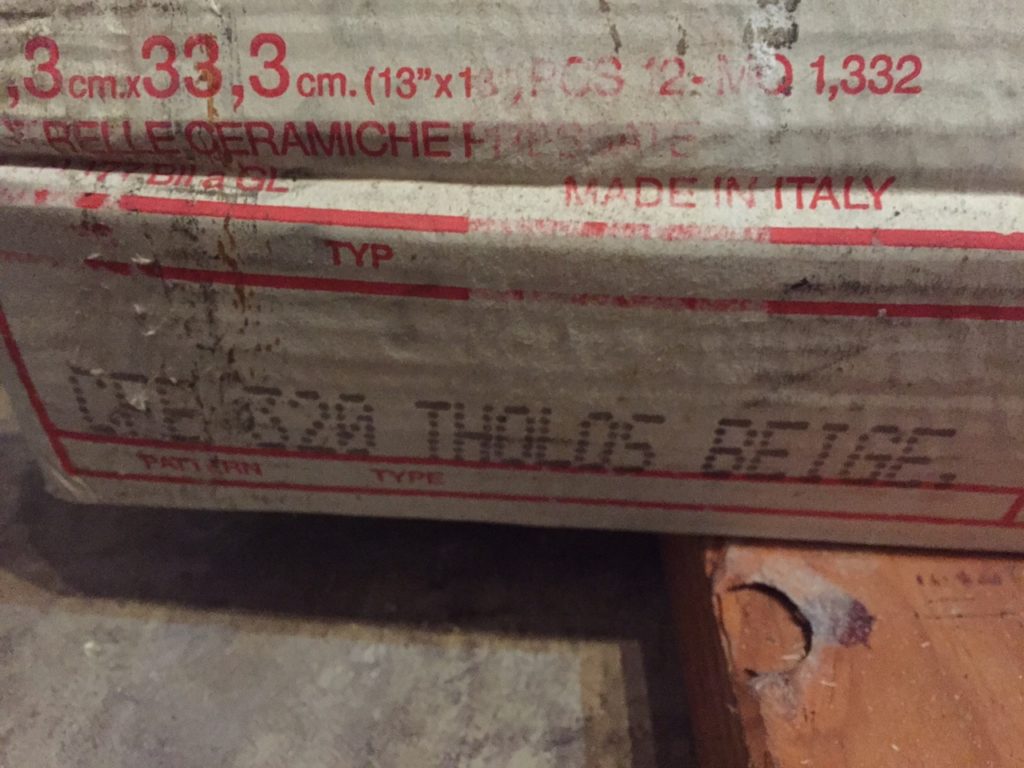 Eureka!! I found some of the matching tile in the garage. We can cut out the half pieces that are already down and put the full ones in place. Before we do any tiling, however, we need to run power to the island. Best way to do that? Make a huge mess by trenching the floor and using PVC conduit to run electrical through.
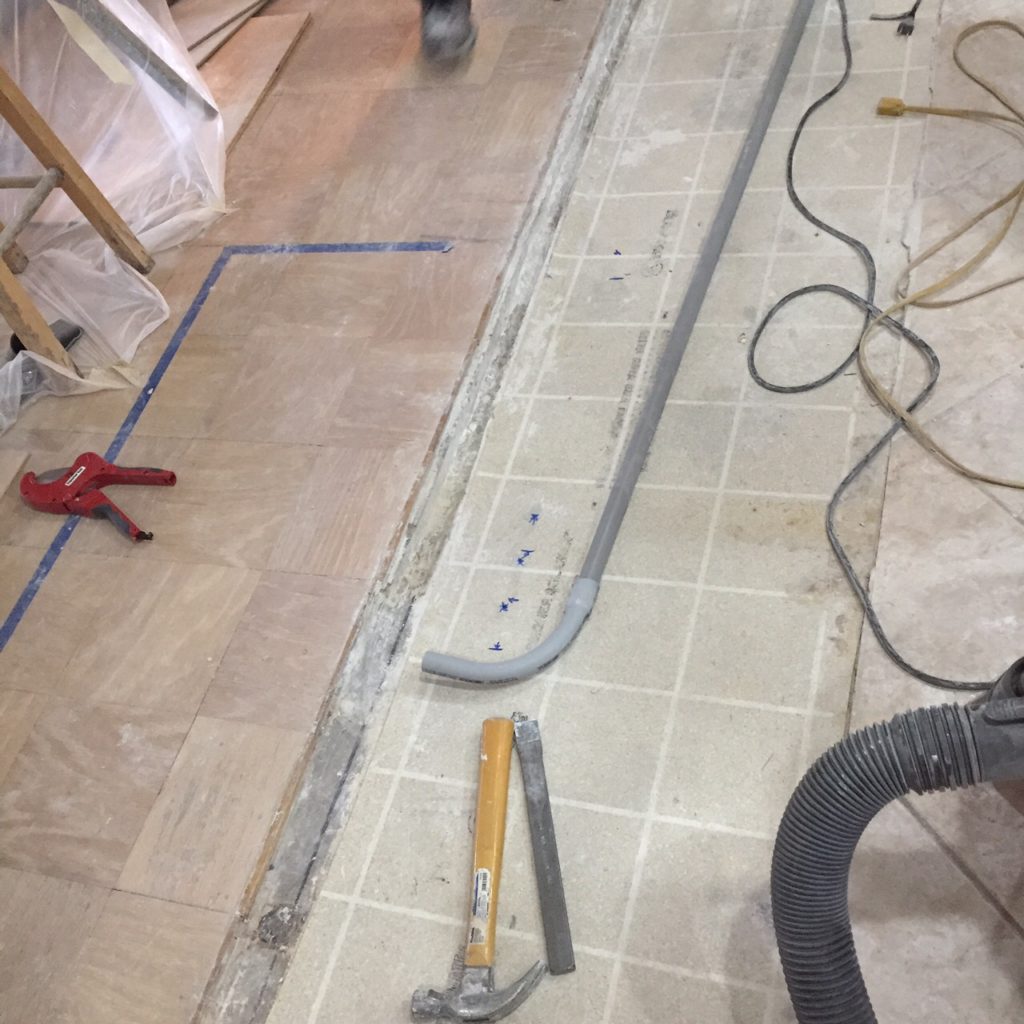 We trenched the concrete. Using a combination of a cold chisel, and circular say with a mason blade we managed to make it work. I would not advise anyone to try and do it this way. We put down the conduit and ran the electrical through. We used structural concrete patch material to fill in the trench we made to provide a flat surface for the tile. The linoleum was removed, luckily it was not under the existing tile.
 Shifting gears a little bit, we knocked out some smaller items. Pantry was moved and more cabinets were hung. We were really unhappy with the depth of the pantry so we ended up cutting it down. It was hard work and took a lot of time to cut everything down so it fit better in the kitchen.
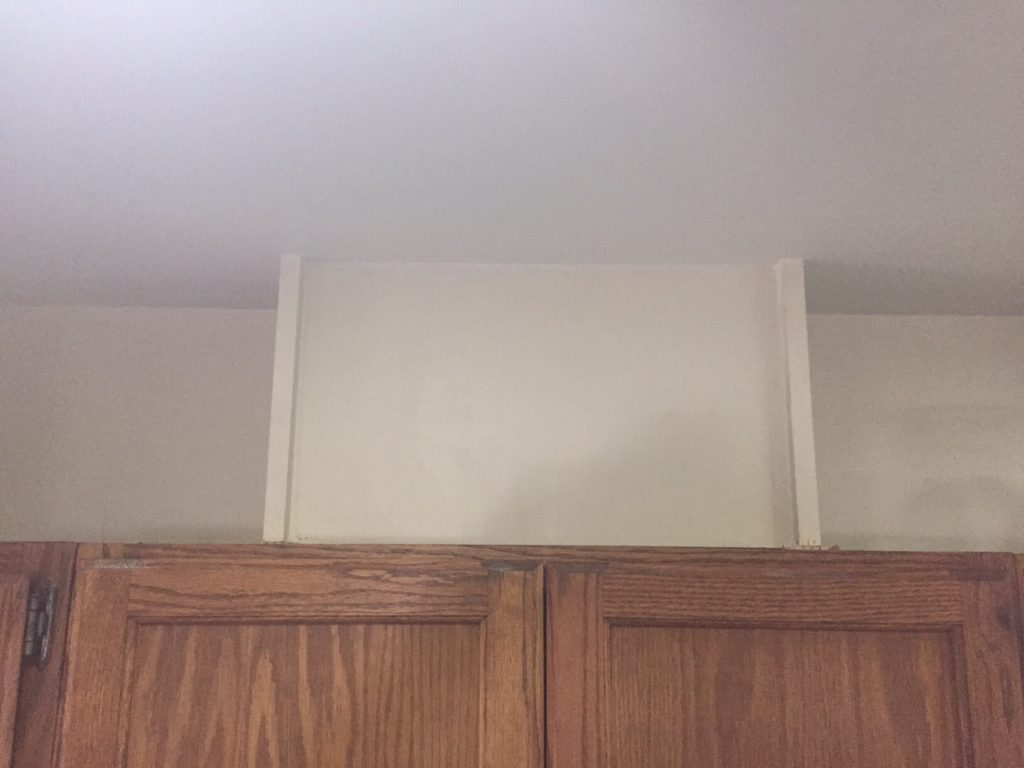
 Exhaust was installed and the outer casing put in to help make it look nicer. Just small, annoying items that had to be done.
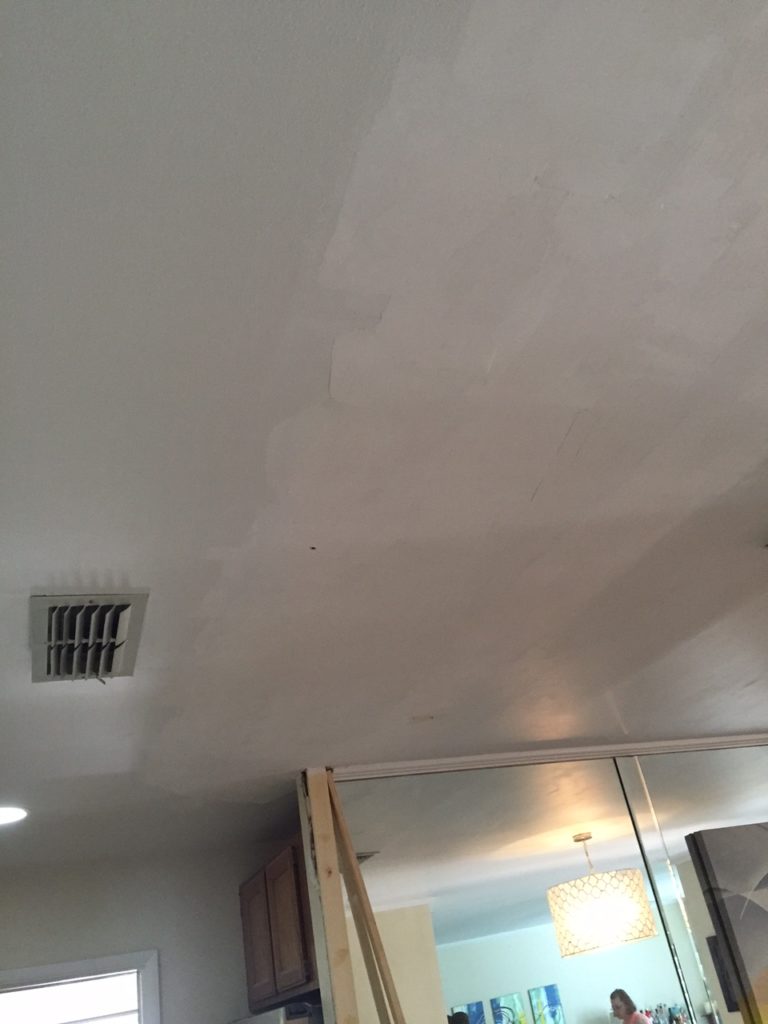 Started working on some drywall work. It took many iterations for me to make anything close to looking nice.
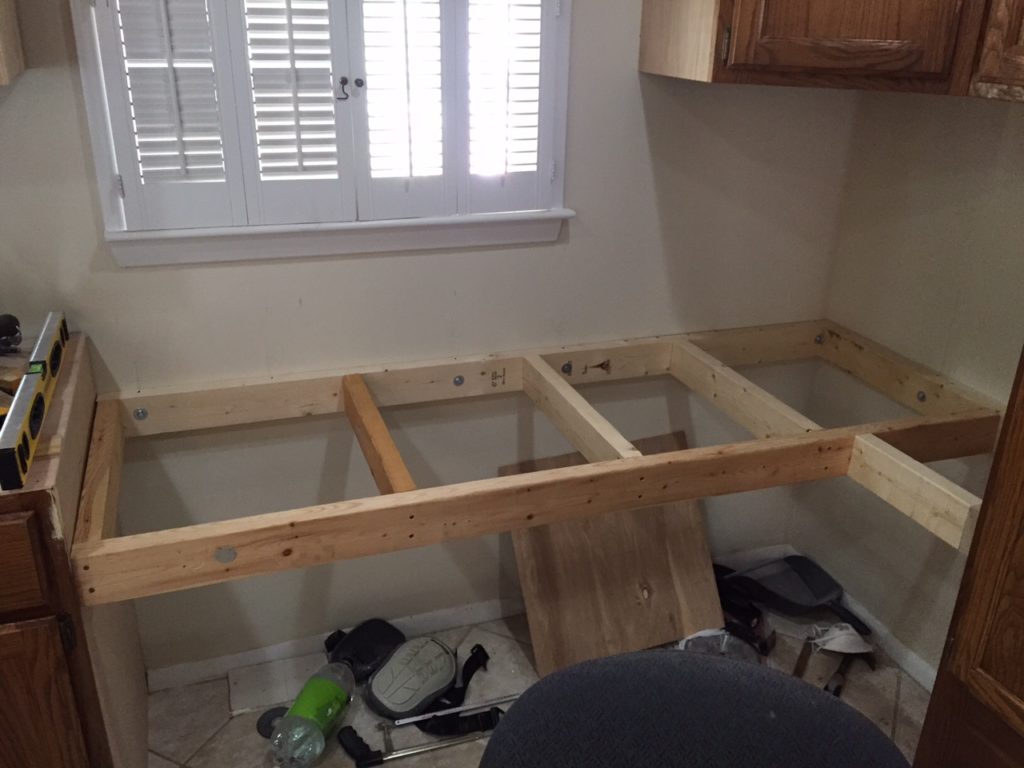 We framed out the desk, using 8 lag bolts (we added more later) and screwed it into the pantry and cabinet.
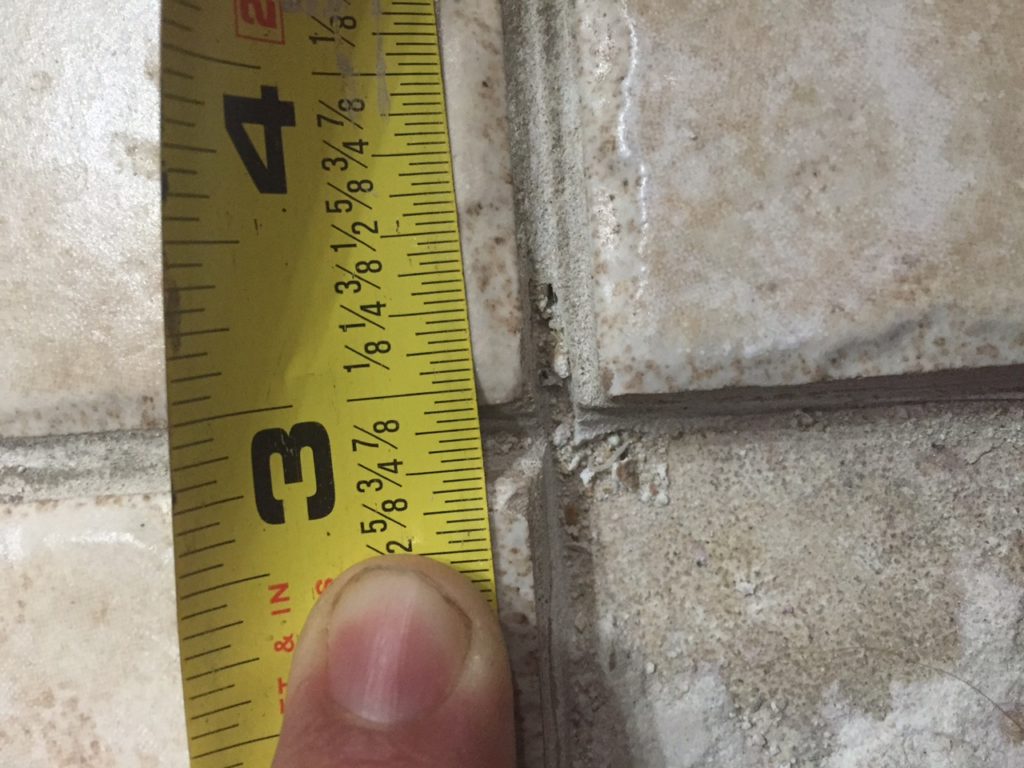
Measured out the tile spacing and determined the old grout to be bright white…. I was dead wrong. Or the original grout was not sealed and turned gray overtime but after we put down the tile and grouted it, it was clear we were going to have to re-color the old grout.
We finally got the island cabinets down and the kitchen is starting to take shape. Molding was put down and we hooked up the island electric to two outlets on the facing the dishwasher.
 The electrical in the island. We wanted to make it accessible for future needs.
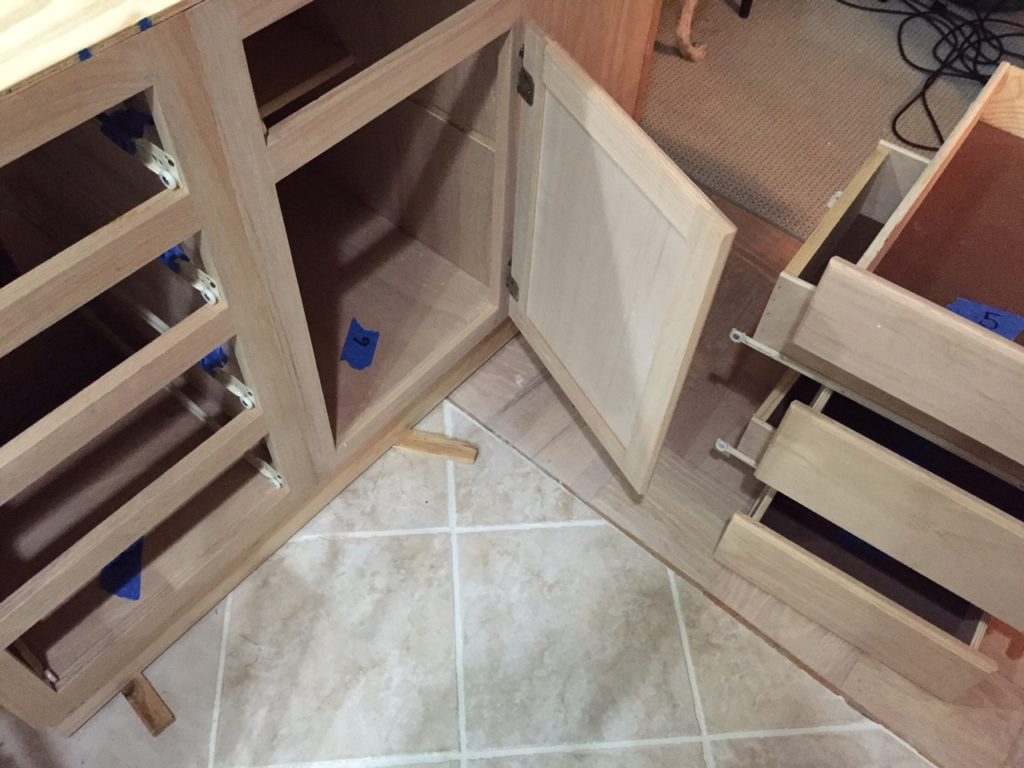
It’s time to start the paint prep work. All surfaces were sanded where possible and de-glossed when not. Cabinet doors were coming with me to work so I could work on them during my lunch breaks. I had some help with the painting, my mother is an excellent painter. I numbered the doors with the bases to make sure I put them back where they belong. Hinges and hardware were placed in numbered cups as well.
 Cabinets were primed with Benjamin Moore’s Stix. It was then painted with oil based paint to a white color. If you see the 2x4s behind the island, it was a heated debated as to how far the overhang would be for a breakfast area. We were still trying to decide before we framed it out.
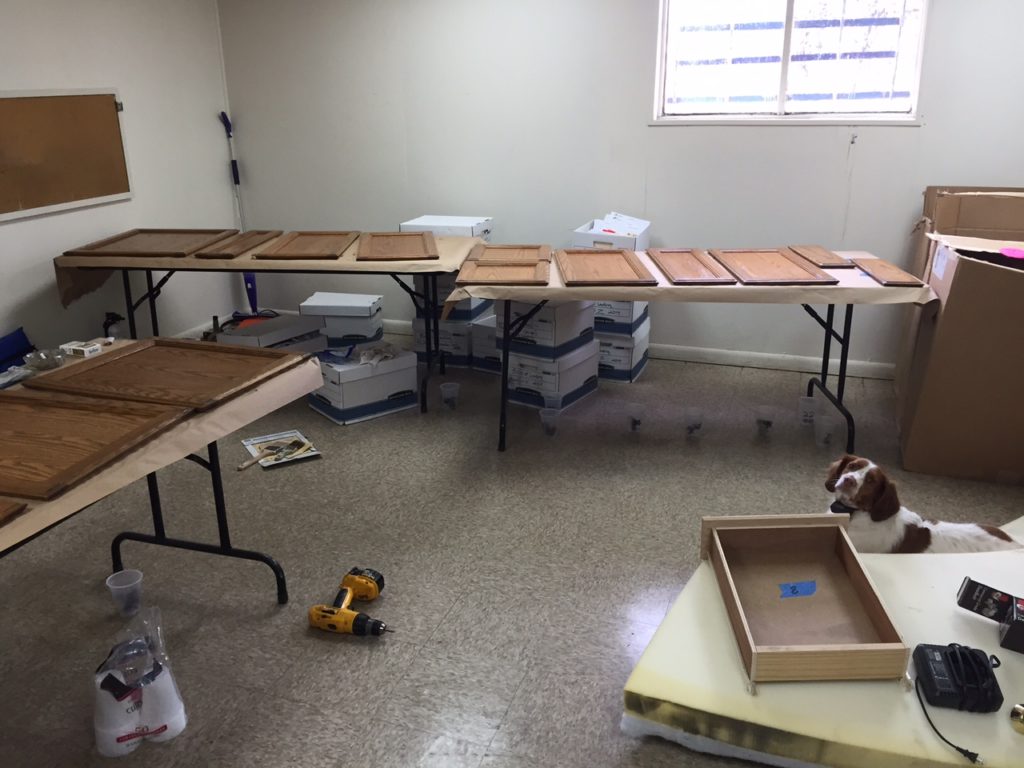 Sam (the dog) and my mother helped with painting the doors and drawer faces. They did a superb job.
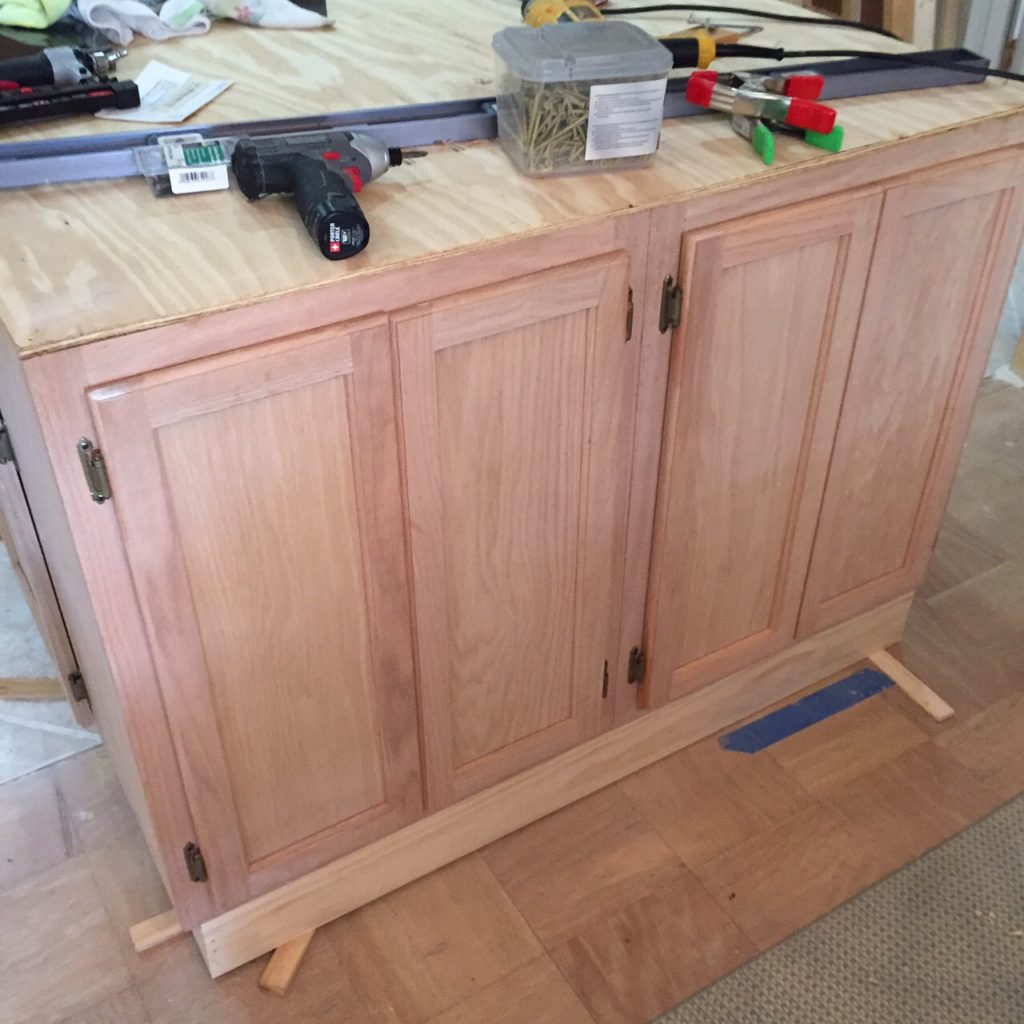
 Some of the doors were re-attached and it’s starting to look really nice.
 We added some molding to cover the corner of the wall and kept on grinding on the paint. It took about 3 coats of the oil paint and 1 coat of the primer
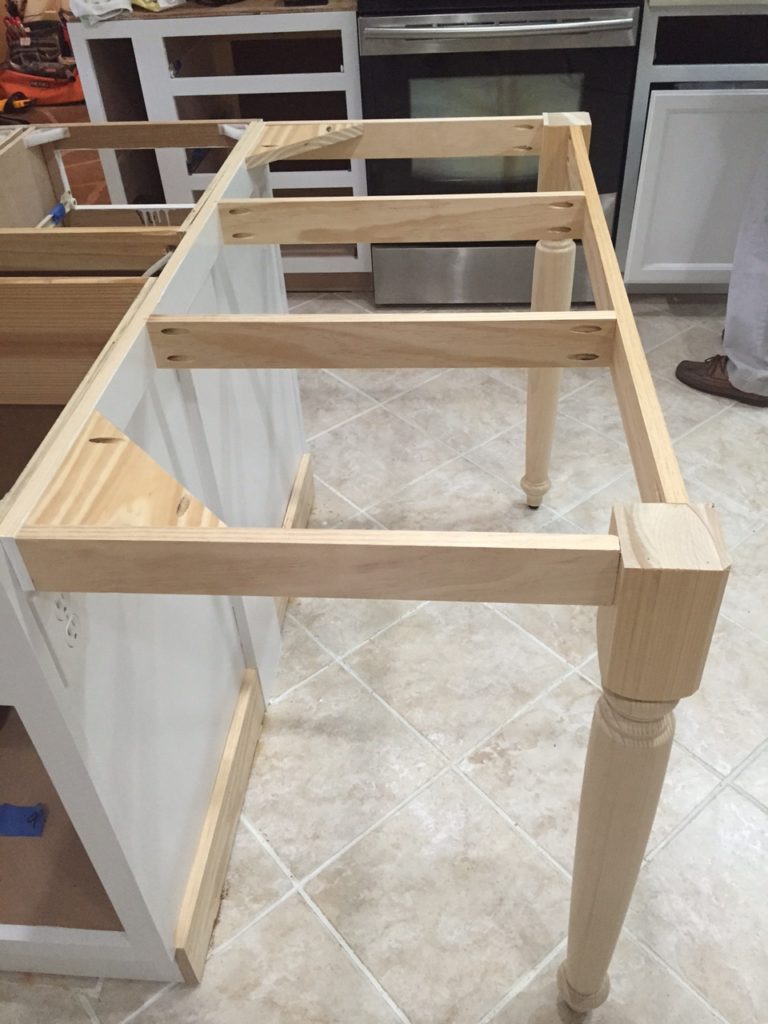 We came to an agreement on the overhang and purchased some legs online. The painting continues….
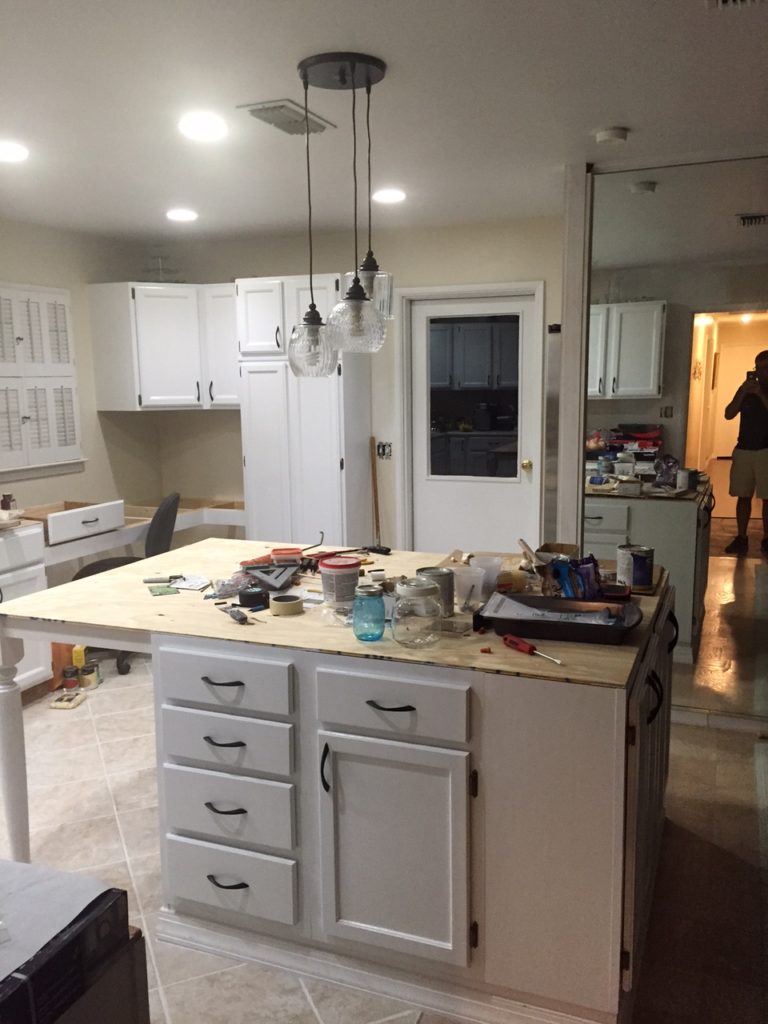
Hardware and island light installed. Now we just have a punchlist of items left to finish but countertops are about to come in. We had the countertops professionally installed, since it was included in the price of fabrication. We went with a black color.
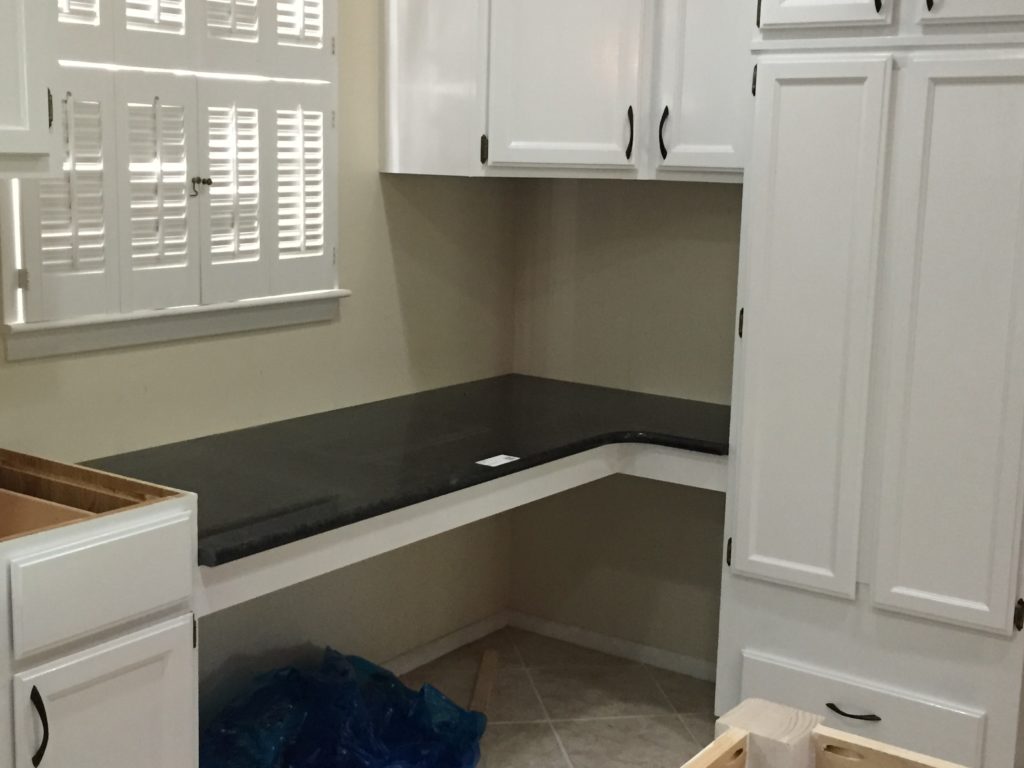
The kitchen is really starting to look nice. Mrs. PVC Guy was confined to her bedroom, the installers were concerned about her being around the adhesives and chemicals while being pregnant. For once, our hired contractors didn’t screw anything up!!
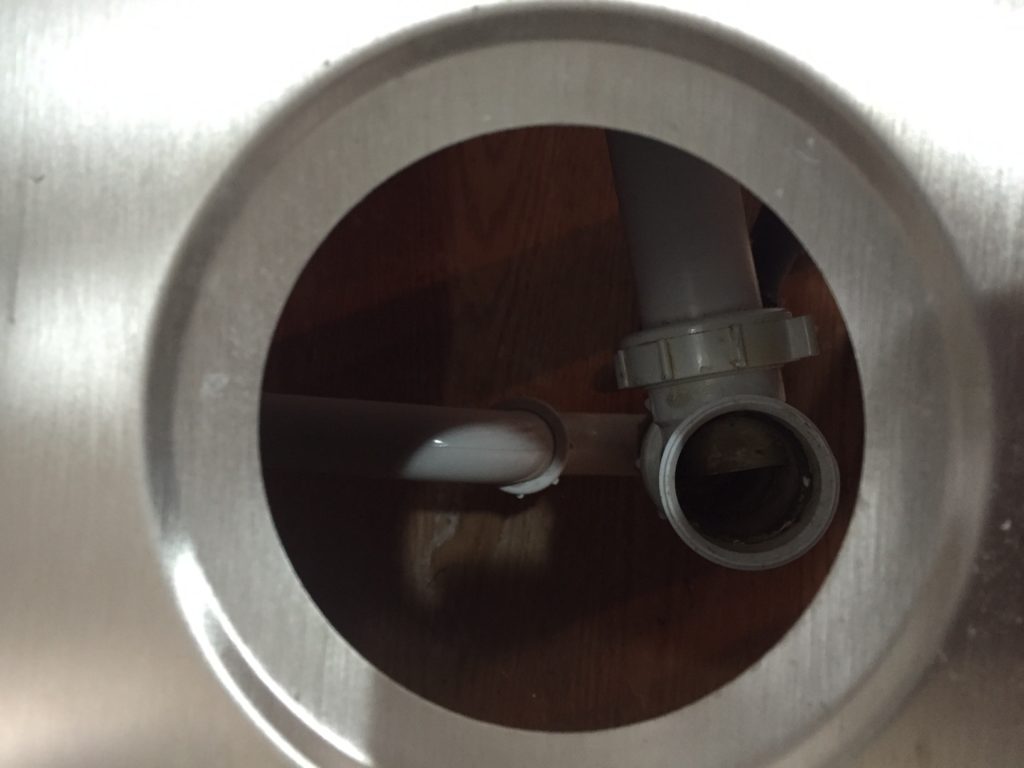 Stainless steel sink was installed with the countertops but we had a problem – the old plumbing under the sink didn’t line up to the drain. And the trap could not be adjusted to make it work since the brainiacs who installed the plumbing glued everything up. No problem, this is Mr. PVC Guy’s expertise!
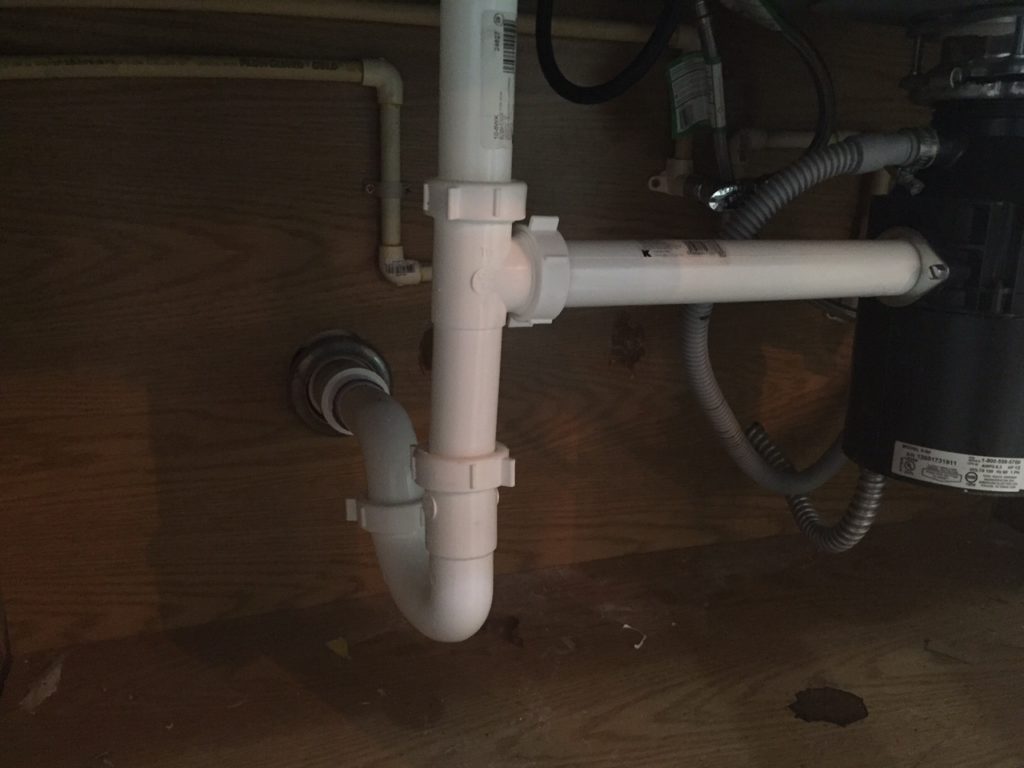 This actually worked out well. The faucet’s line was getting caught on the old water valve so while everything was removed, I went ahead and replumbed it so the shut off valve was out of the way. And the installer of the dishwasher/garbage disposal had never connected them so the dishwasher was emptying into the sink P trap which could cause problems later on. I fixed it and used plumber’s putty to get the sink finished.
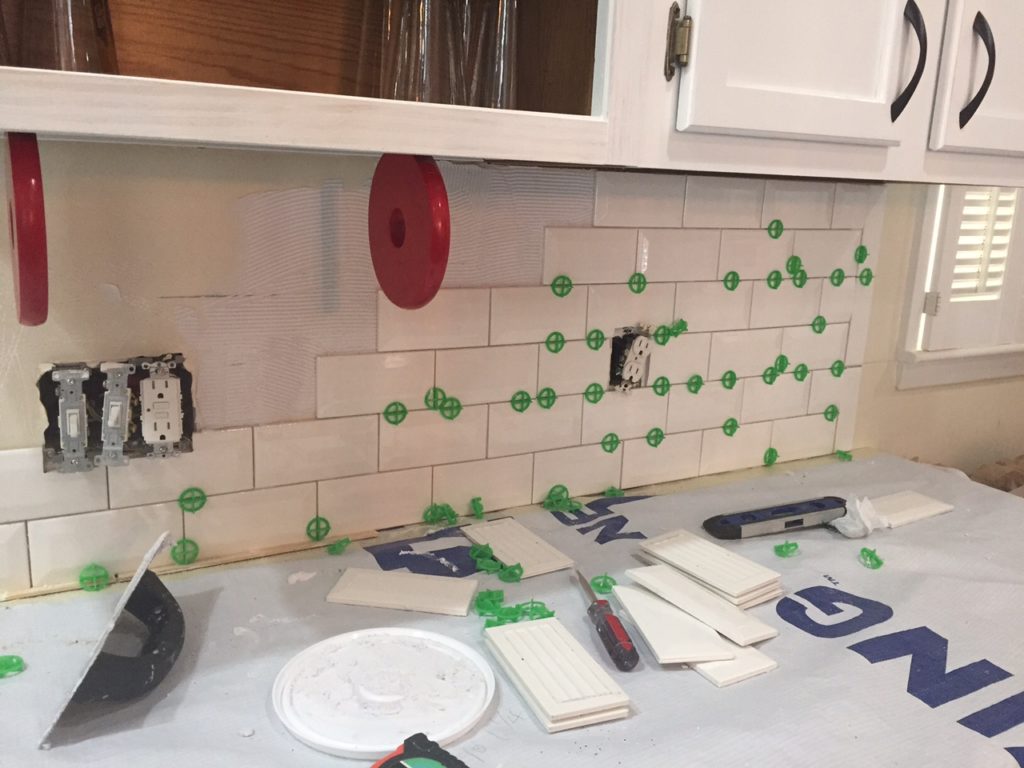 Next up was the backsplash. Mrs. PVC Guy wanted subway tile with a beveled edge which made it difficult to used the spacers. We managed and it turned out to be a really good choice to help add an interesting feature to a black and white kitchen.
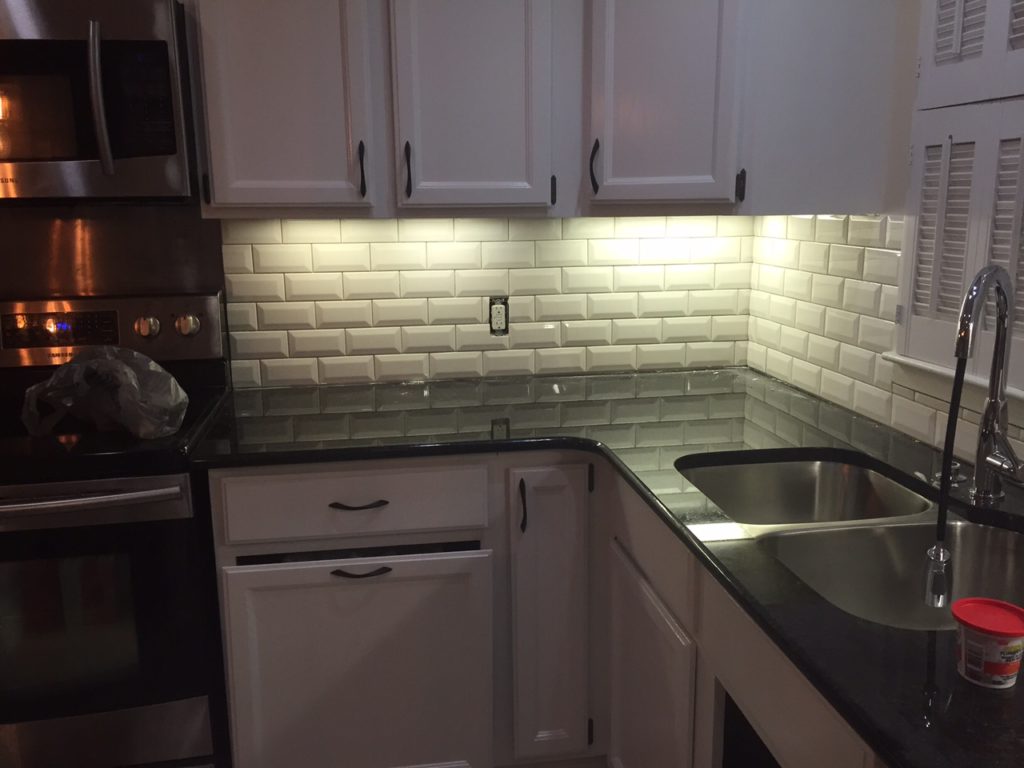 I hooked up lights underneath the cabinets which were hardwired in. It really made the backsplash pop.
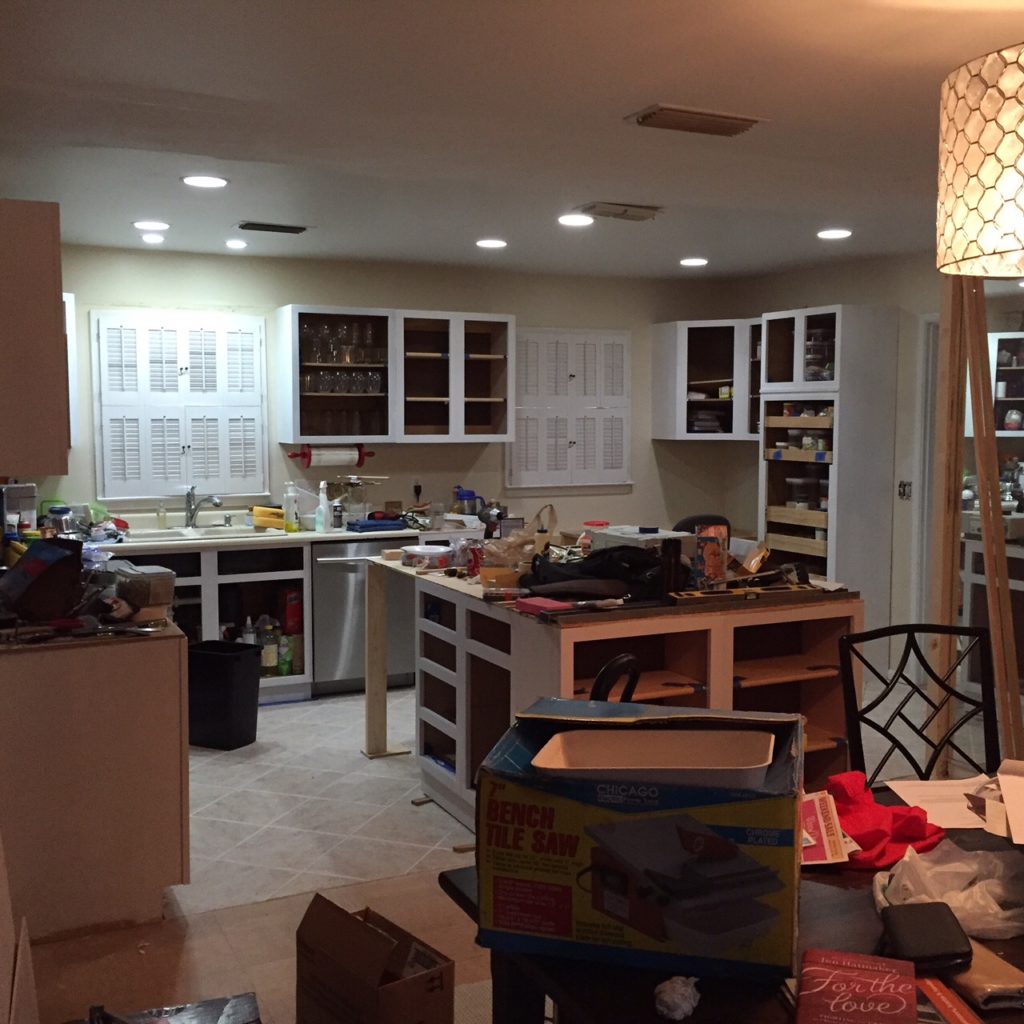
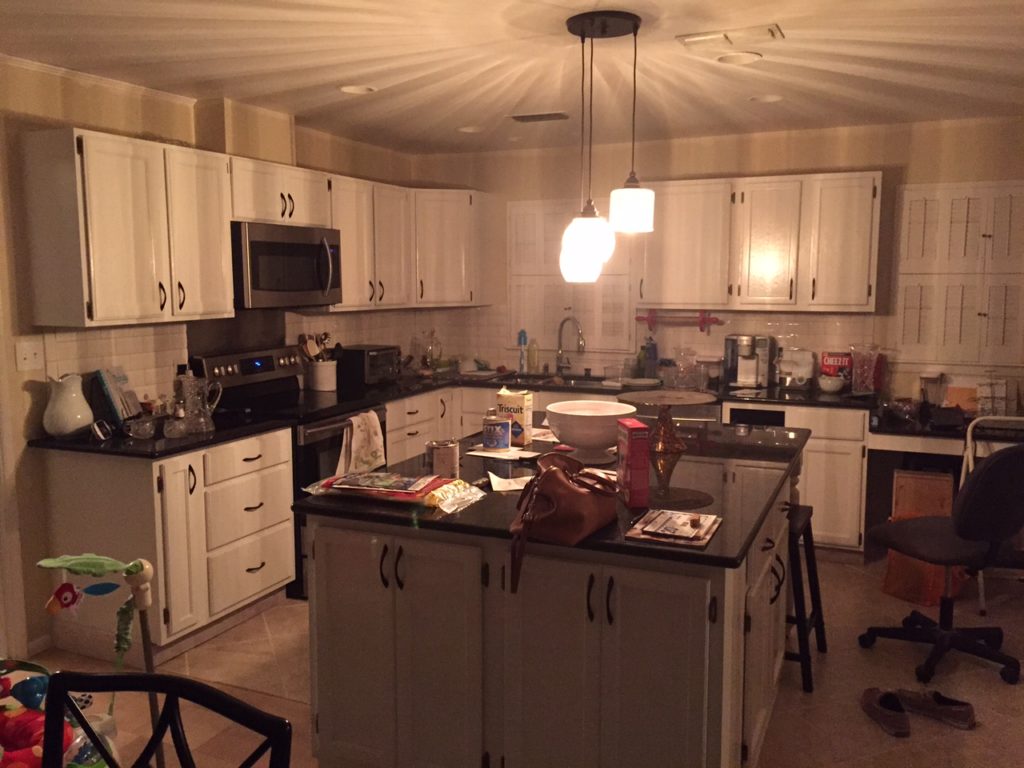 Aside from one or two things and some touch up paint, we were finally finished! Just in time for the arrival of our beautiful baby boy, Mr. PVC Guy Jr. Sorry for all the junk everywhere, things were getting pretty hectic with our new arrival.
Thanks for reading about the Great Kitchen Remodel of 2016!